Stock prices into Excel
We will build a flow that reads a column of stock symbols out of a spreadsheet, looks each one up on Google, and writes the price back into the row beside it.
It is a small flow, but it contains most of what real RPA work is made of: a loop over rows, a browser driven for data that has no API, a subflow to keep the loop readable, and a jump back to the top for the next item.
This tutorial uses the Excel package, which reads and
writes .xlsx files directly. You do not need Microsoft Excel installed and the flow runs on
any robot — Windows, macOS or Linux.
The separate Microsoft Excel package drives the real desktop application through COM. Keep that one for the two jobs nothing else can do: very large workbooks and running macros.
Create Flow
-
Open the Designer and click Create New Project.

-
Give the project a name and press Create New Project.
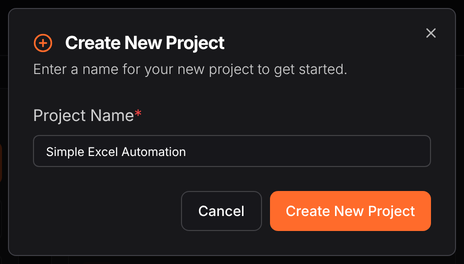
The name you pick appears in the top bar, next to the branch selector. Clicking it is how you switch between projects later.

-
Create an Excel file with the content below and save it somewhere on your computer — for example
stocks.xlsx. Column A holds the symbols; column B is where the flow will write.
-
Build the following flow by dragging nodes from the palette, or by right-clicking the empty canvas and searching by name.
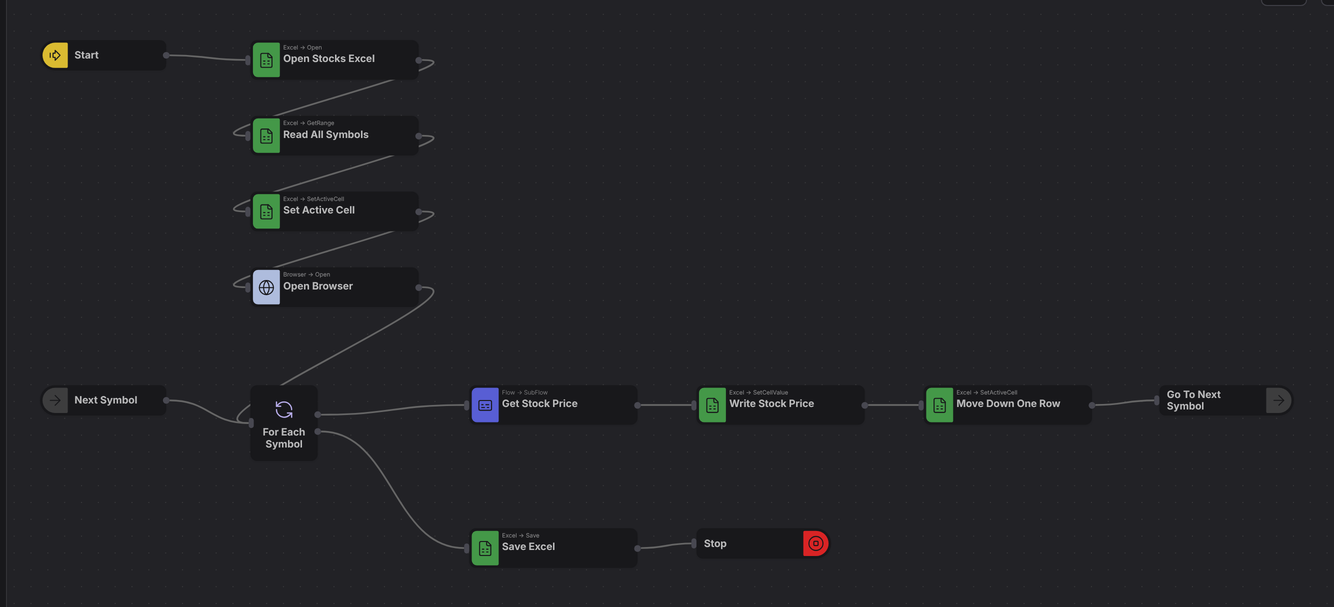
Node names are changed here to make the flow readable. Below is each one with the node it actually is:
Name on the canvas Node Start Trigger → Inject Open Stocks Excel Excel → Open Excel Read All Symbols Excel → Get Range Set Active Cell Excel → Set Active Cell Open Browser Browser → Open Browser Next Symbol Flow → Label For Each Symbol Programming → For Each Get Stock Price Flow → Sub Flow Write Stock Price Excel → Set Cell Value Move Down One Row Excel → Set Active Cell Go To Next Symbol Flow → Go To Save Excel Excel → Save Excel Stop Flow → Stop Notice that Next Symbol has no input port. A Label is not wired into; Go To jumps to it by name. That pair is the loop.
-
Double-click the Get Stock Price node. This opens the subflow — a second canvas inside the same project, where the actual price lookup happens. Build this:

Name on the canvas Node Begin Flow → Begin Create Link Programming → Function Go To Link Browser → Open Link Get Stock Price Browser → Get Value End Flow → End Begin and End are what make it a subflow: they are the ports the parent's Sub Flow node connects through.
To get back to the main flow, click the project name in the top bar.
Configure the nodes
-
Click Open Stocks Excel and set Excel File Path to the full path of the file you saved — for example
/home/john/stocks.xlsxorC:\Users\John\stocks.xlsx.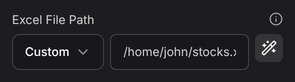
-
Click Read All Symbols and set its options:
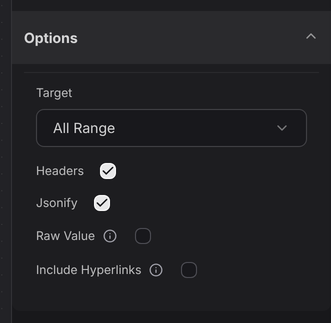
All Range reads the sheet's whole used range in one call, so you do not have to work out where the data ends. Jsonify lowercases the header names, which is what lets you write
msg.stock.symbolbelow instead of quoting the header exactly. -
Click Set Active Cell — the one under Read All Symbols — and point it at
B2, the first cell that will receive a price.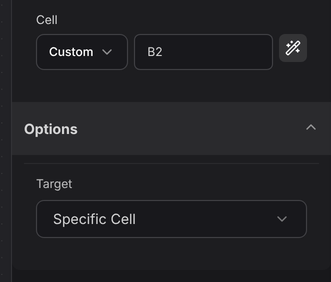
-
Click For Each Symbol. It loops over the rows the Get Range node produced, handing you one row at a time as
msg.stock.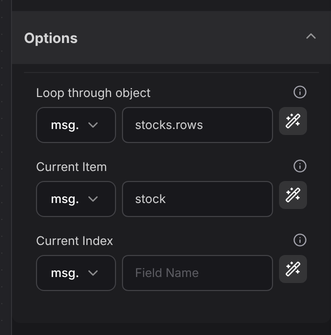
-
Click Write Stock Price. Target is Active Cell, so it writes wherever the cursor currently is rather than at a fixed address.
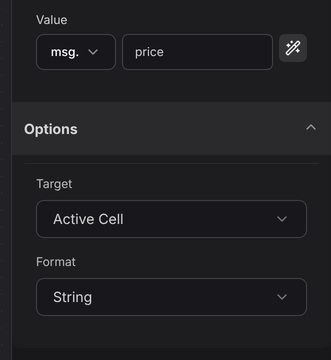
-
Click Move Down One Row. This is the other half of the trick: after each write, the active cell steps down, so the next iteration lands on the next row.

-
Click Go To Next Symbol and tick the Label to jump to — here, Next Symbol.
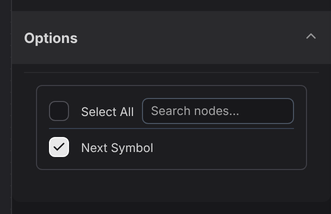
The list only offers Labels that exist on the canvas, so add and name the Label node before configuring the Go To.
Configure the subflow
-
Double-click Get Stock Price again, click the Create Link function node, and put this in its editor:
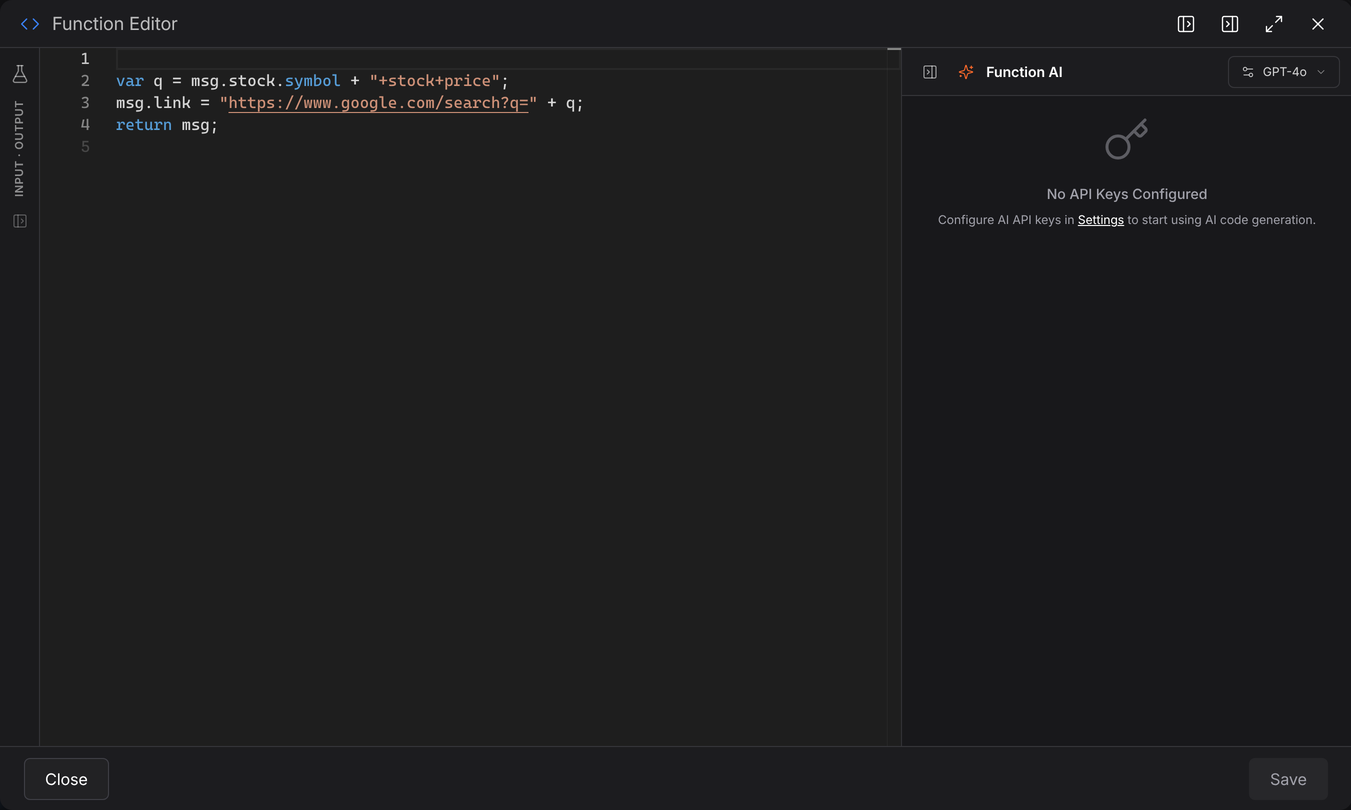 var q = msg.stock.symbol + "+stock+price";msg.link = "https://www.google.com/search?q=" + q;return msg;
 -
Click Go To Link and set the URL to the
linkthe function just built.
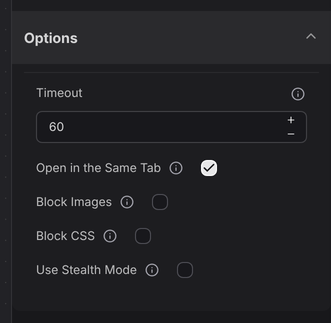
Its options matter here. Open in the Same Tab reuses the one browser window instead of opening a tab per symbol, and a generous timeout keeps a slow page from failing the run.
-
Click Get Stock Price and set the Selector:

Here is the copyable version:
//div[@data-attrid="Price"]/span[1]/span/span[1]Selectors on someone else's pageThat XPath describes Google's markup on the day this was written, and Google is free to change it. If the flow starts returning nothing, the selector is the first thing to check — see Automating a browser for how to find a new one.
-
Save with the save icon, or Ctrl+S.

Run Flow
-
Press the play icon on the canvas toolbar and choose where to run.

Local runs on a robot connected to your own machine; Cloud runs on Robomotion's infrastructure. Pick Local for this one — it opens a real browser you can watch.
noteLocal is only available if you have a robot connected. If you have not set one up, follow install a robot and then connect it.
-
When the flow finishes, open the spreadsheet and the prices will be filled in.

Try changing it
- Add a Debug node inside the loop to watch
msg.stockandmsg.priceper iteration. - Add a Catch node so one symbol that fails to scrape does not abandon the whole run — see Handling failure.
- Replace the Google lookup with an HTTP Request to a finance API. The loop, the subflow and the write-back stay exactly as they are; only the inside of the subflow changes.