HTTP Trigger
An HTTP trigger gives a flow a webhook URL. Anything that can POST — a form, a payment provider, another system — can start your automation.
Triggers are created in Admin Console → Triggers, with Add Trigger.
1. Trigger Type
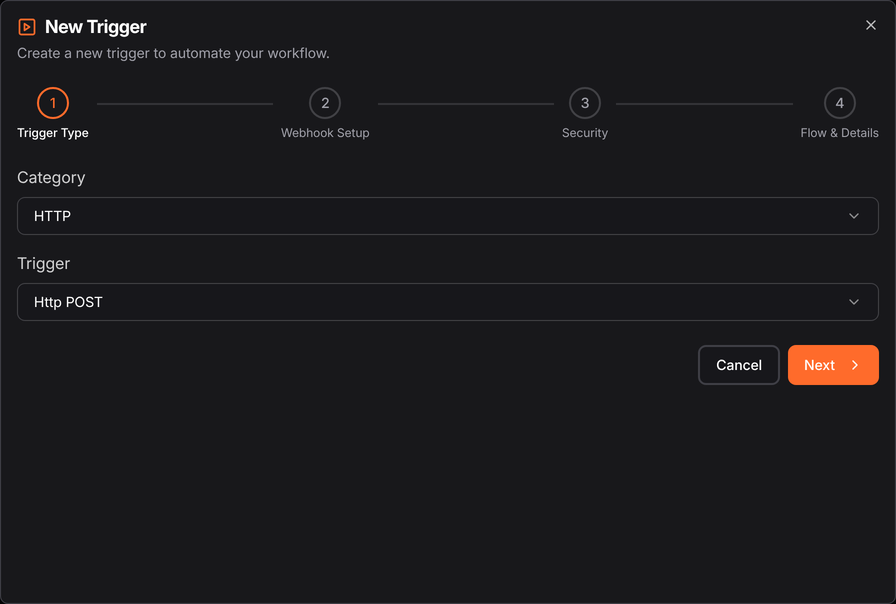
Pick the HTTP category and the Http POST trigger:
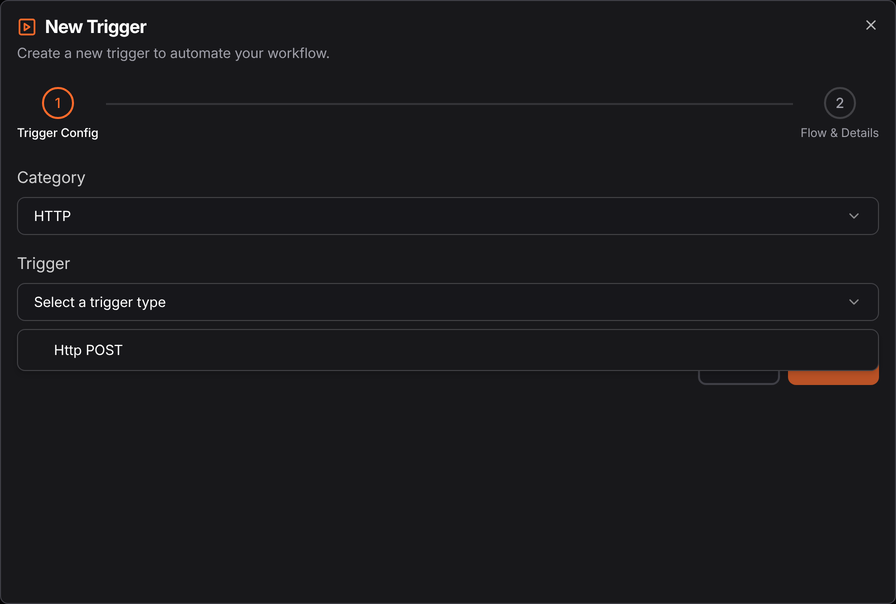
The wizard adapts to what you pick — HTTP has four steps because a webhook needs an endpoint and a security decision. A File System trigger has fewer.
2. Webhook Setup
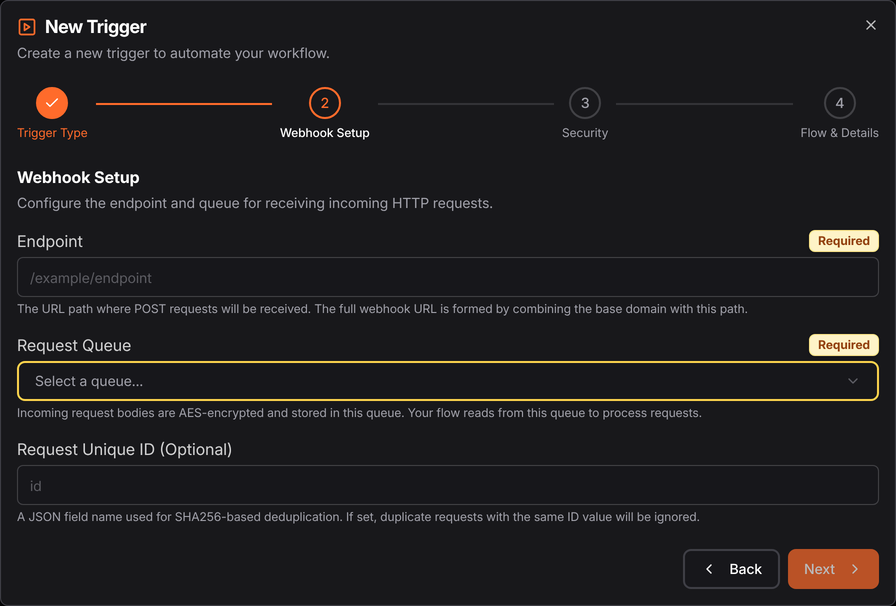
| Field | What it does |
|---|---|
| Endpoint | The URL path that accepts POSTs. The full webhook URL is your base domain plus this path |
| Request Queue | Where incoming bodies are stored. Required |
| Request Unique ID | Optional. A JSON field name used for SHA256 deduplication — repeat requests carrying the same value are ignored |
The queue is the part worth understanding, because it is not an implementation detail.
Incoming request bodies are AES-encrypted and written to a queue, and your flow reads from that queue. So the caller is never waiting on your robot: bursts are absorbed, nothing is lost if no robot is free, and the flow processes at its own pace.
It also means a webhook needs a queue to exist first.
Request Unique ID is how you make a webhook idempotent. Point it at a field the caller sends — an order id, an event id — and a provider that retries a delivery will not cause the work to happen twice.
3. Security
How callers authenticate. Anything on a public URL needs this — an unprotected endpoint is an open door into your automation.
4. Flow & Details
Choose the published flow to run, the robot to run it on, and name the trigger.
A trigger runs a published flow, so publish from the Designer before creating the trigger.
Reading the request in your flow
The flow reads its input from the queue, not from the trigger. Use the queue nodes — see Fetch Data — and the decrypted request body is what you get.
See also
- Queues — where request bodies land
- Triggers — managing existing triggers
- Queue Trigger — start a flow when an item is inserted