Video Dubber Part 2: How to customize and deploy the web UI Application

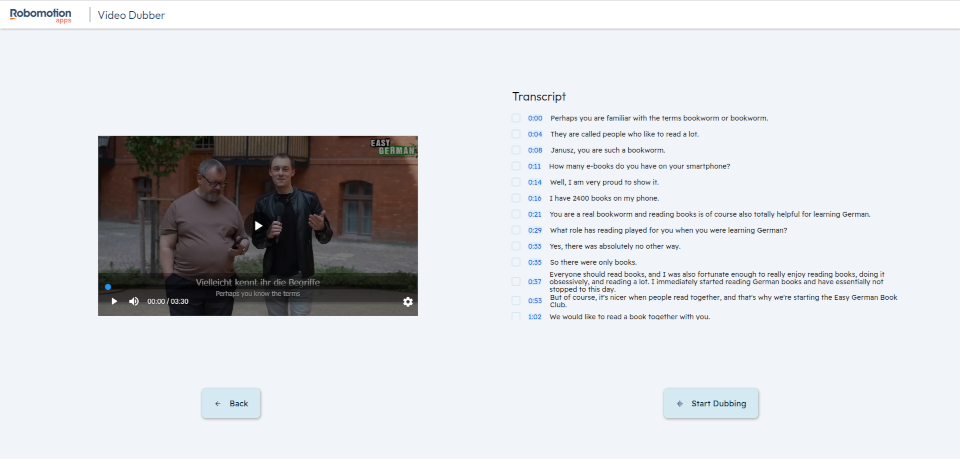
Before we begin, you can get a firsthand feel for our Robomotion Video Dubber application by exploring our interactive live demo.
This is the Part 2 of the Video Dubber blog posts. You can access Part 1 from here.
Introduction
Video Dubber is an application designed to assist in video dubbing and language translation. It utilizes FlutterFlow.
Previously, we shared a post demonstrating how to modify the Robomotion flow. In this post, we will explore how to modify the FlutterFlow UI application.
FlutterFlow
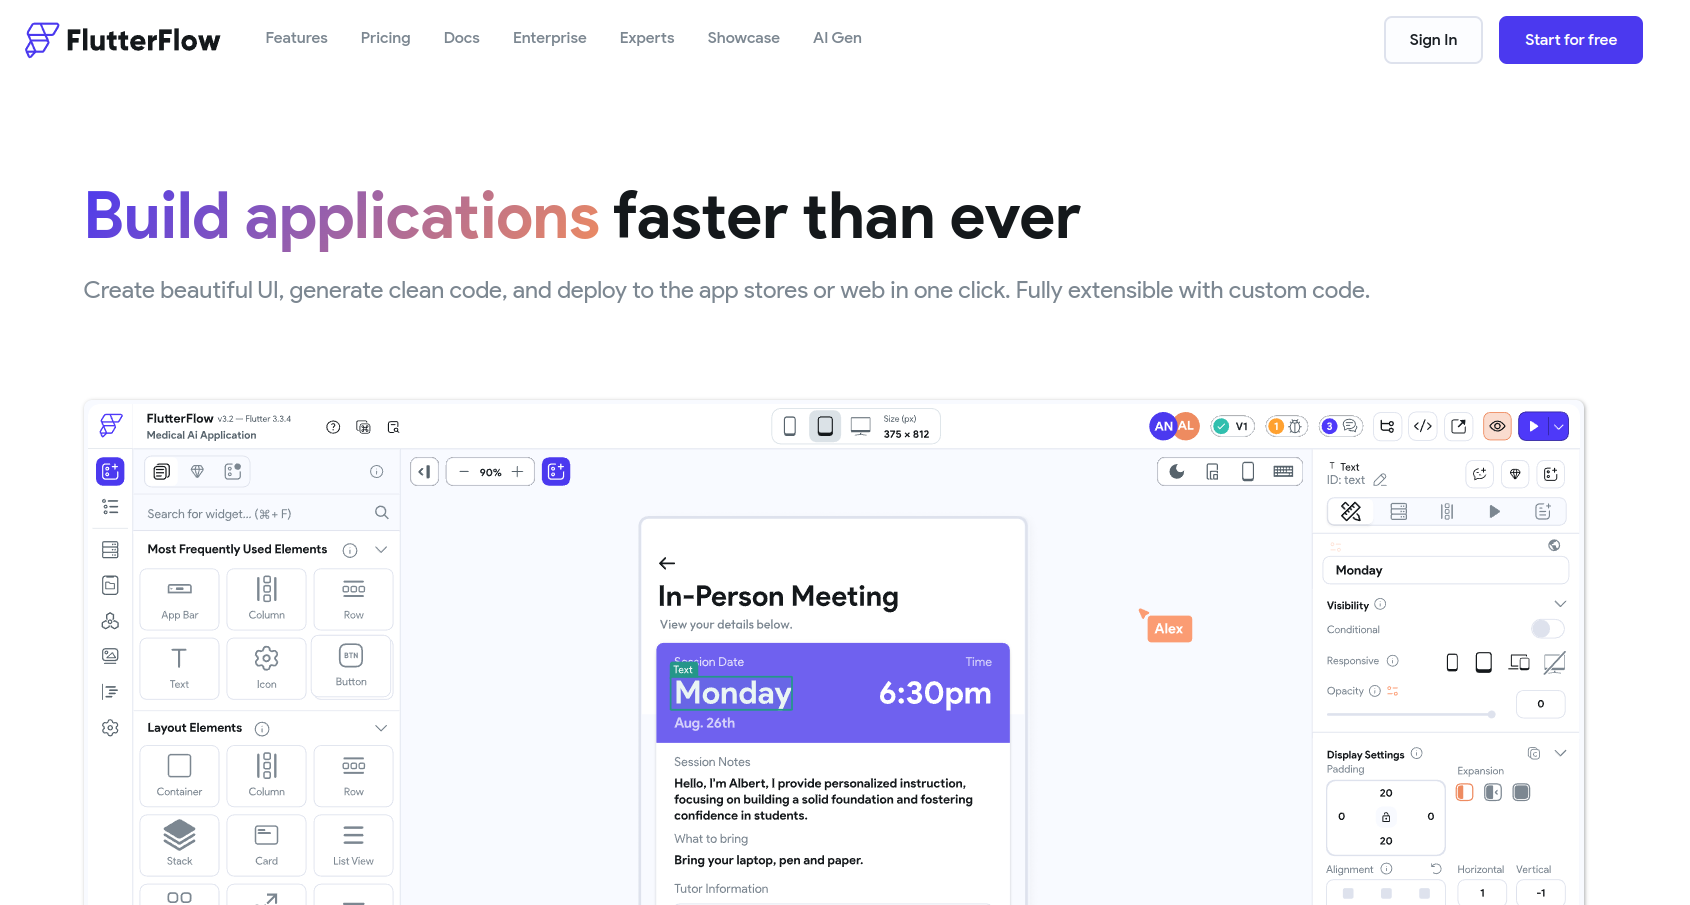
First and foremost, you need to have a FlutterFlow account. FlutterFlow is an online platform that enables users to design and build mobile and web applications effortlessly, utilizing a drag-and-drop interface. It simplifies app development, making it accessible even to those without extensive coding knowledge. It is a low-code platform built on Flutter that facilitates the creation of high-quality, natively compiled applications for both iOS and Android from a single codebase. Additionally, Flutter supports the development of web applications, a feature we take advantage of.
The Robomotion Application Robots act as the backend, while FlutterFlow is utilized for the front end of our applications. This combination ensures seamless integration of intricate backend operations with intuitive frontend designs, enabling the development of robust and efficient applications that are both functional and aesthetically pleasing.
Setup
Moving forward, we will guide you through the process of importing and modifying the Video Dubber FlutterFlow Application. If your goal is simply to use the Video Dubber application, you don't need to read further; you can run the flow directly from our App Store as mentioned in this post.
First, log in to your FlutterFlow account. If you don't have an account yet, you can create one here.
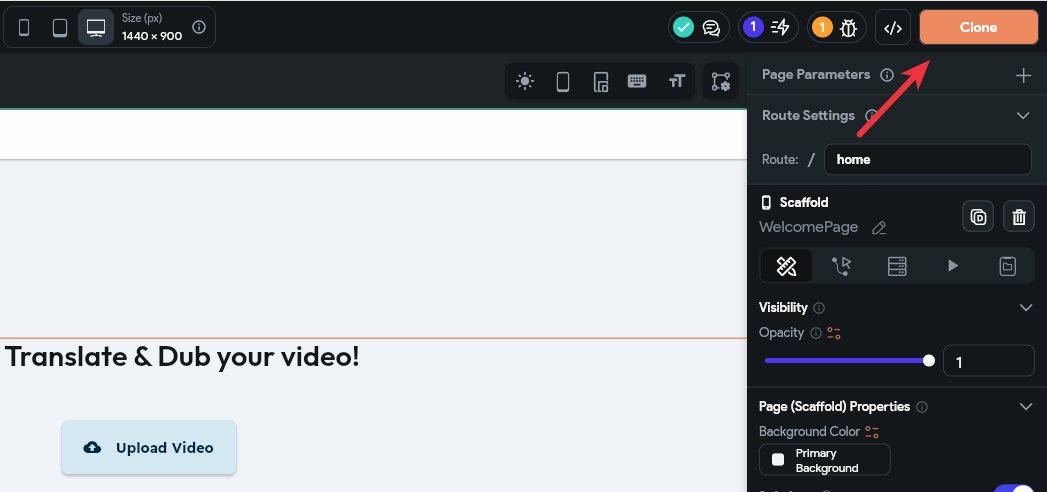
Let's begin by cloning the Video Dubber FlutterFlow app from this link. Click on the 'Clone' button as shown below.
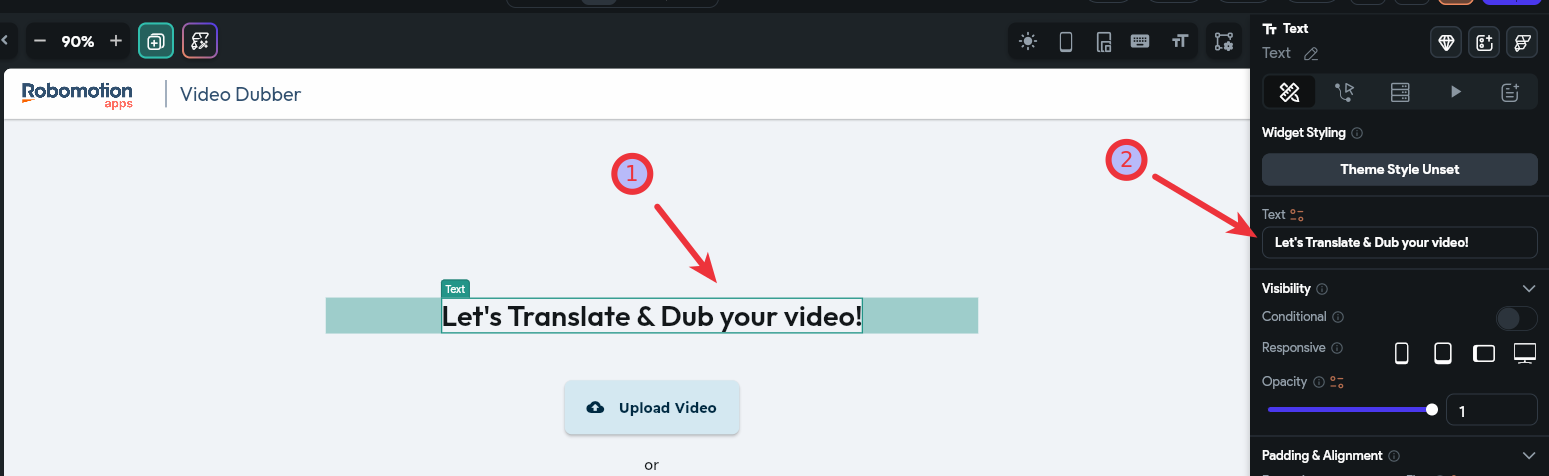
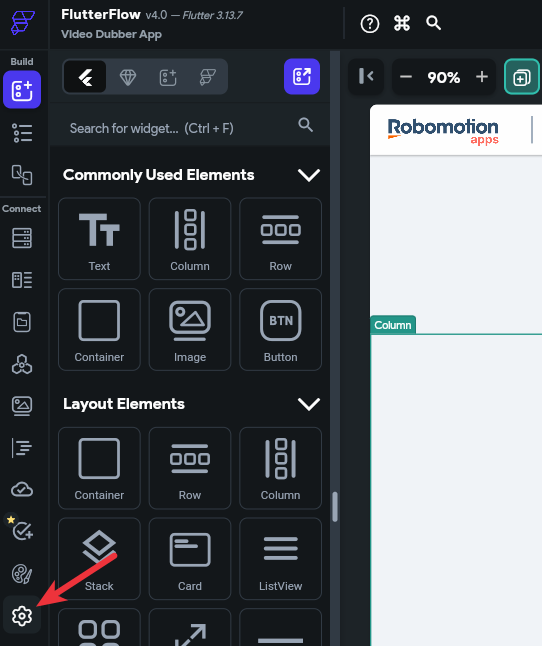
For a quick test change, let's modify the title. Change "Let's Translate & Dub your video!" to something like "Welcome to Video Dubber!"
Click the FlutterFlow settings icon.
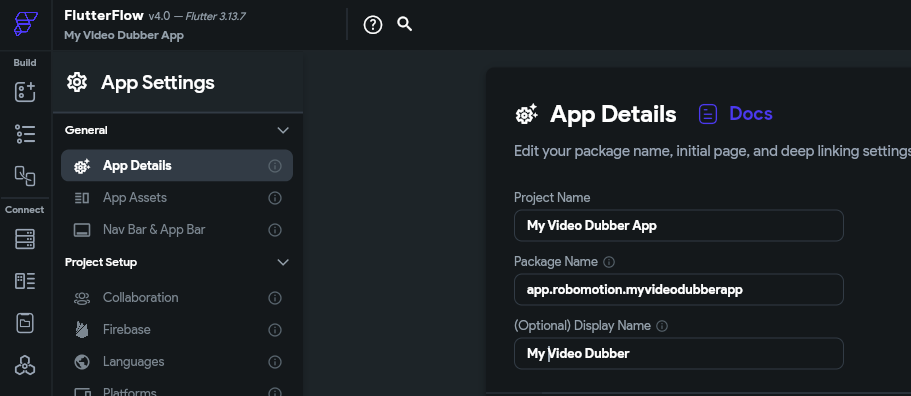
Update the App Details.
Click the Web Publishing link, select a unique subdomain for your application, and then click Publish.
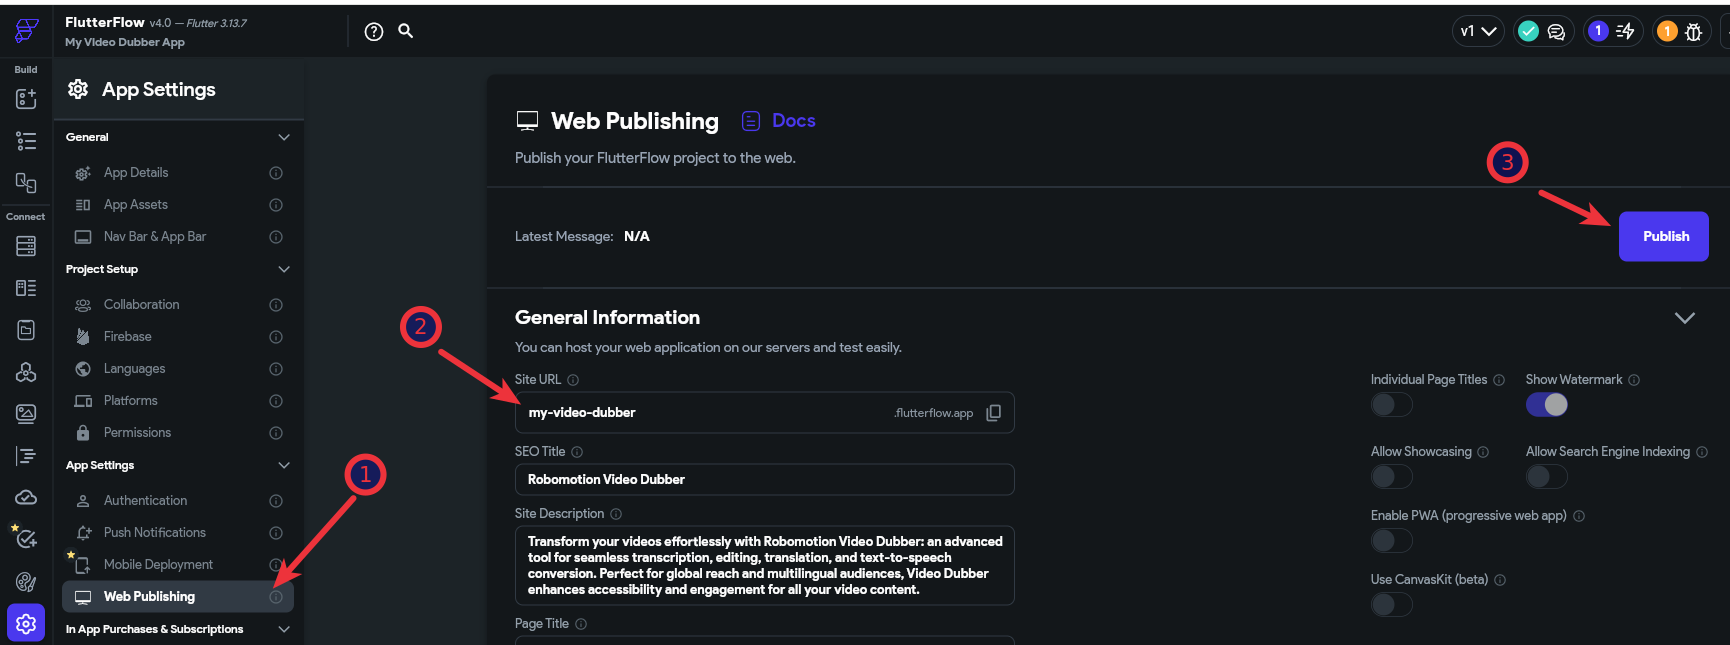
After the publishing is successful, you will see a screen like the one below.

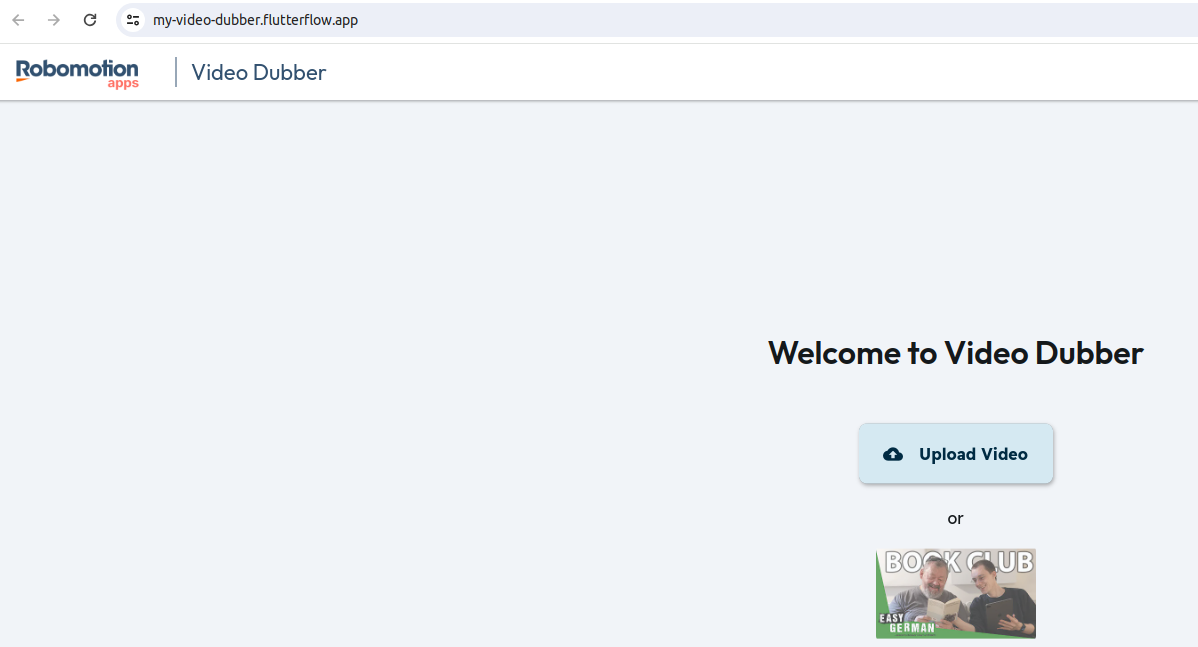
You can now visit your allocated subdomain. In my case, it was https://my-video-dubber.flutterflow.app
Update the Custom App URL
In the previous post, we demonstrated how to create an application using the official Video Dubber published web link. Now, go to the Admin Console -> Apps page and update that App URL with your custom App URL.
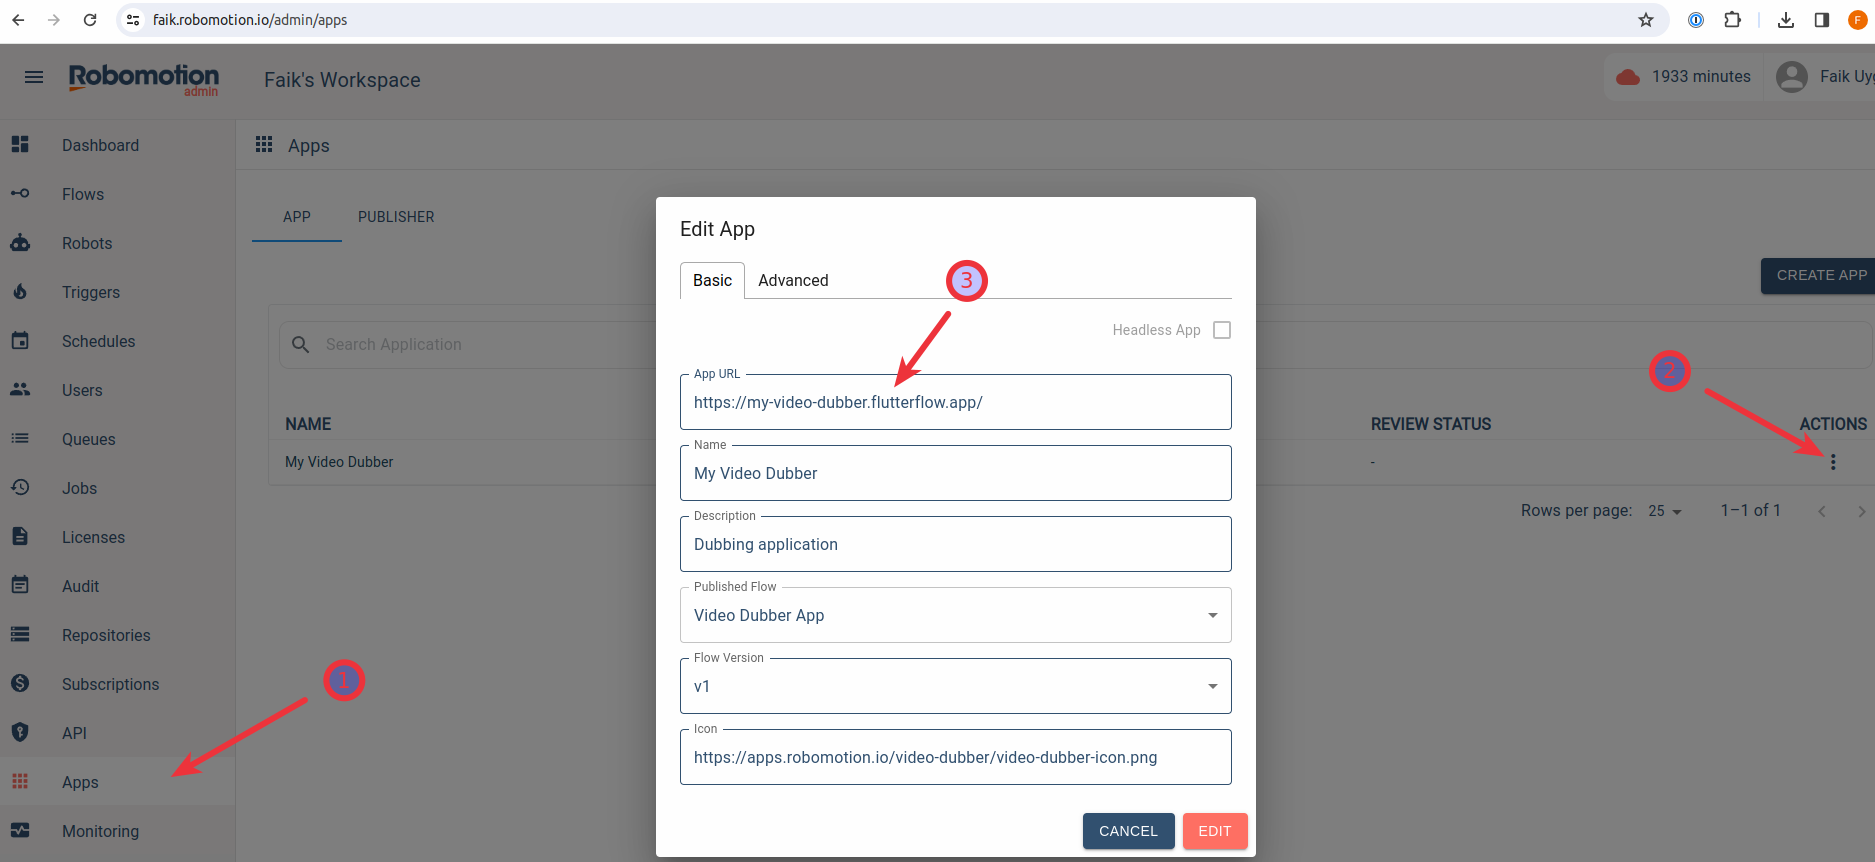
If you return to your App instance in Robomotion Apps, the "Open App" button will now open your custom application.

Instance ID
Every instance associated with your FlutterFlow app runs on a different Application Robot. These are connected to the UI with the instance ID query parameter shown below.

You can also copy this link and the instance ID from the icon left to the "Open App" button.

Why is Instance ID important?
The Instance ID is used to link the robot with your frontend. So if you go to the URL directly without the query param, the app won't work.
However, you can set it as a default instance within your Custom FlutterFlow App. Go to the Custom Code section and click the Custom Action named connect. In that code, you can uncomment the instanceID parameter of the robomotion.connect function and replace the instanceID with your instanceID.

This way, when you go to the URL directly, it will use this default instanceID without a query parameter. This is also required when you are using Test Mode and Run Mode while developing your FlutterFlow application.
Where to go from here?
FlutterFlow has its own extensive documentation, which goes beyond the scope of this blog post. To explore further, you can visit their documentation and delve into a wealth of additional resources. For a more interactive learning experience, consider watching the informative tutorials available in the FlutterFlow University playlist on their YouTube channel. This playlist provides valuable insights and step-by-step guides to maximize your proficiency with FlutterFlow.
Furthermore, if you have questions or want to engage with the FlutterFlow community, you can join their Forum at this link. The forum serves as a platform for discussions, sharing insights, and seeking assistance from other FlutterFlow enthusiasts.
Happy exploring!