Create a Workspace
A workspace is your organisation's home in Robomotion. It holds your flows, your
robots, your users and your vaults, and it lives at its own address —
yourcompany.robomotion.io.
Signing up creates the workspace and makes you its owner. It takes about two minutes.
1. Enter your work email
Go to app.robomotion.io and choose Sign up.
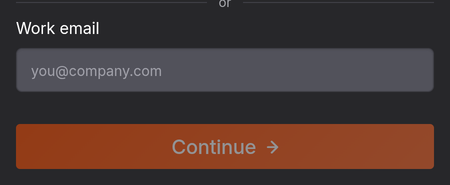
You can continue with Google or GitHub instead, in which case the identity provider handles the next step and you skip straight to step 3.
An email address can own exactly one workspace. If you already have one, use Sign in instead — and if you have forgotten which workspace it was, Forgot workspace? on the sign-in screen will email you the URL.
2. Confirm the six-digit code
Robomotion emails a six-digit confirmation code. Enter it and press Next.
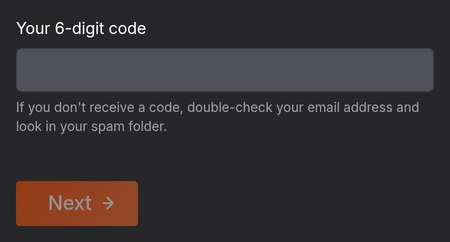
The code is valid for one hour. If it does not arrive, check your spam folder before requesting another.
3. Name your workspace
This is the only screen with decisions on it.
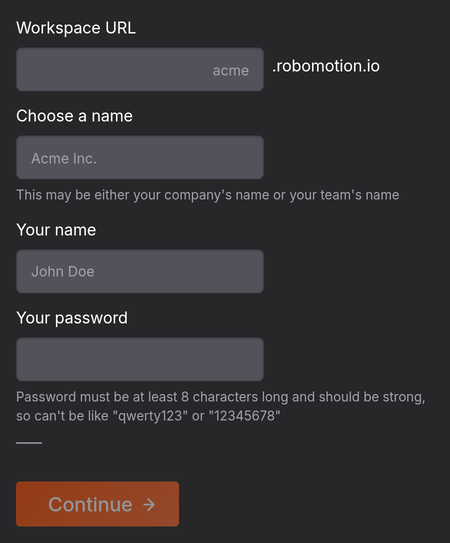
| Field | What to put in it |
|---|---|
| Workspace URL | The subdomain you and your team will sign in at. Pick something short — it is checked for availability as you type and it is awkward to change later. |
| Choose a name | Your company or team name. This is a display name and can be changed at any time. |
| Your name | Your own name, as it appears to teammates you invite. |
| Your password | At least 8 characters, and not a password you use elsewhere. |
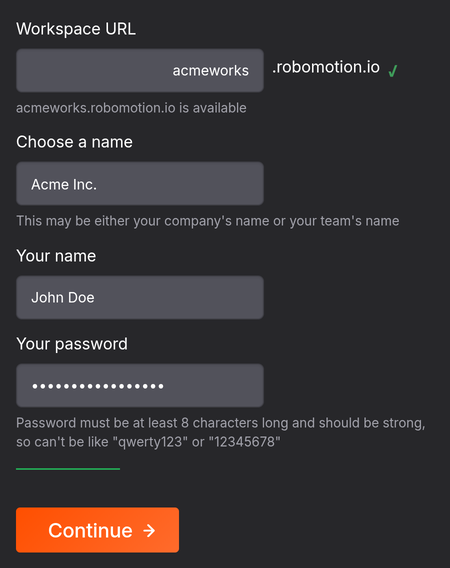
Robomotion derives your vault key from this password, and stores your credentials encrypted with it before they leave your computer. That means nobody at Robomotion can recover it for you. Use a password manager. See Vaults for how the encryption works.
Press Continue and the workspace is created.
4. Connect your first robot
Signup ends on an onboarding screen that walks you through connecting a robot. Your workspace URL is shown here ready to copy.
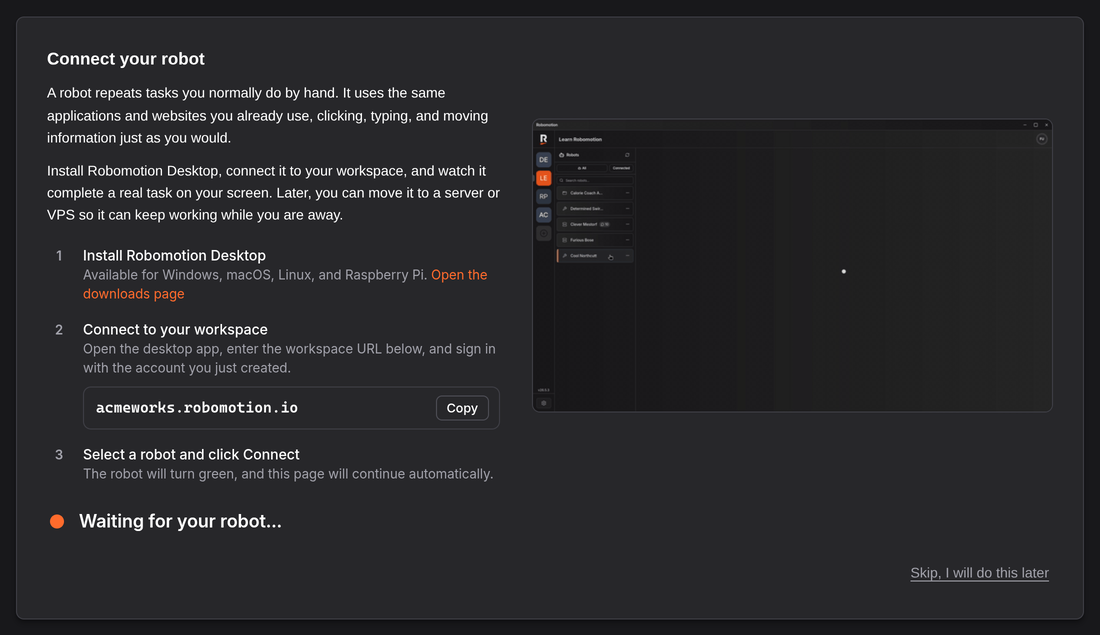
A robot is the piece of software that actually does the work — it drives the same applications and websites you use by hand. The desktop app runs on Windows, macOS, Linux and Raspberry Pi.
The page waits for the robot and continues on its own once one connects. You can also choose Skip, I will do this later and come back to it.
Next steps
- Install Robot — the desktop install, per operating system
- Connect Robot — connecting it to this workspace
- Run Flow — your first automation
- Admin Console → Users — inviting your team