Scale Personalized Outreach Videos with Cloud Run

Last year, we presented a method of producing customized outreach videos through the utilization of Chrome, OBS, Google Sheets and Loom in our blog post. This was an illustration of the capabilities of an RPA (Robotic Process Automation) product.
But the configuration of this automation was difficult, and some delicate stages in the setup process created confusion and issues for our users. Moreover, we were frequently approached with questions on how to scale this automation.
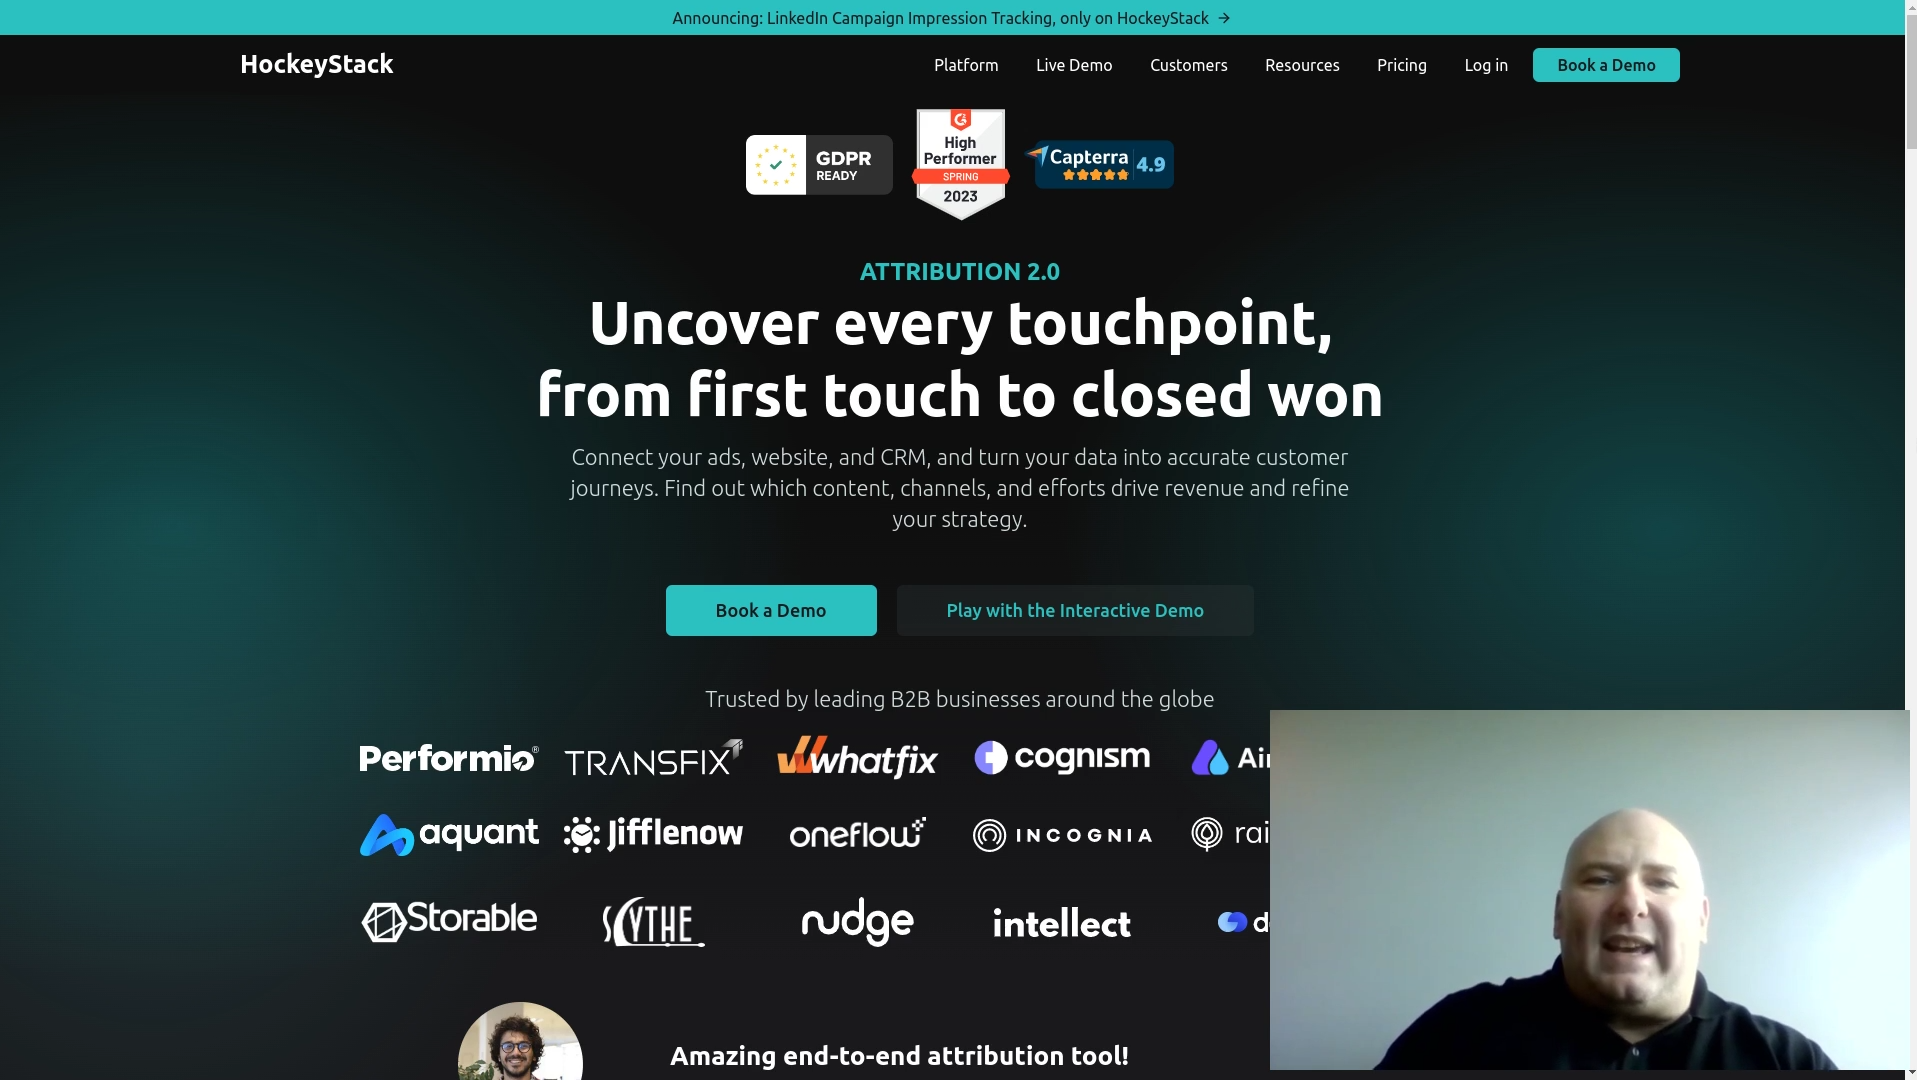
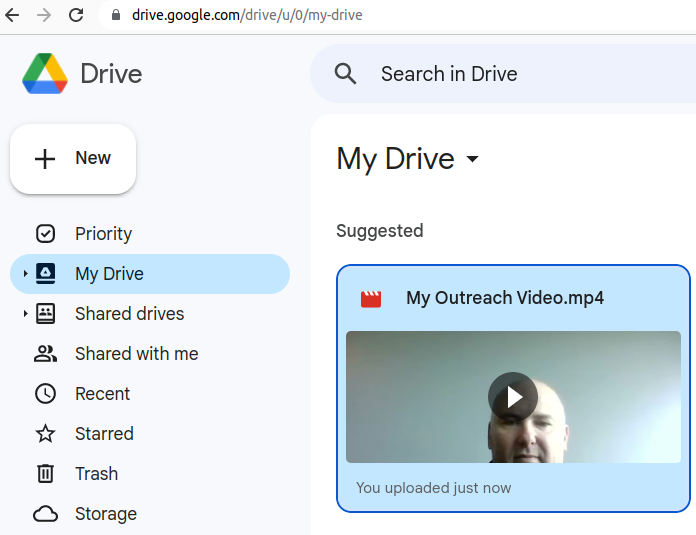
The below screenshot shows an example of a generated outreach video recorded while visiting a potential customer's website:
Finally, to address these issues and fulfill the requests we received, we have developed a new flow from the ground up. It can now run smoothly on Mac, Linux, and Windows operating systems, and the setup process has been simplified significantly. Additionally, we have made it possible to run this automation at scale on our cloud platform.
In this article, we will explore how to convert this automation flow into an App that can be operated from the Robomotion Apps, enabling us to generate multiple instances of this Bot and execute them using our Cloud Run capability.
Setup
Log in to your Robomotion workspace. If you haven't registered yet, you can create your workspace from here.
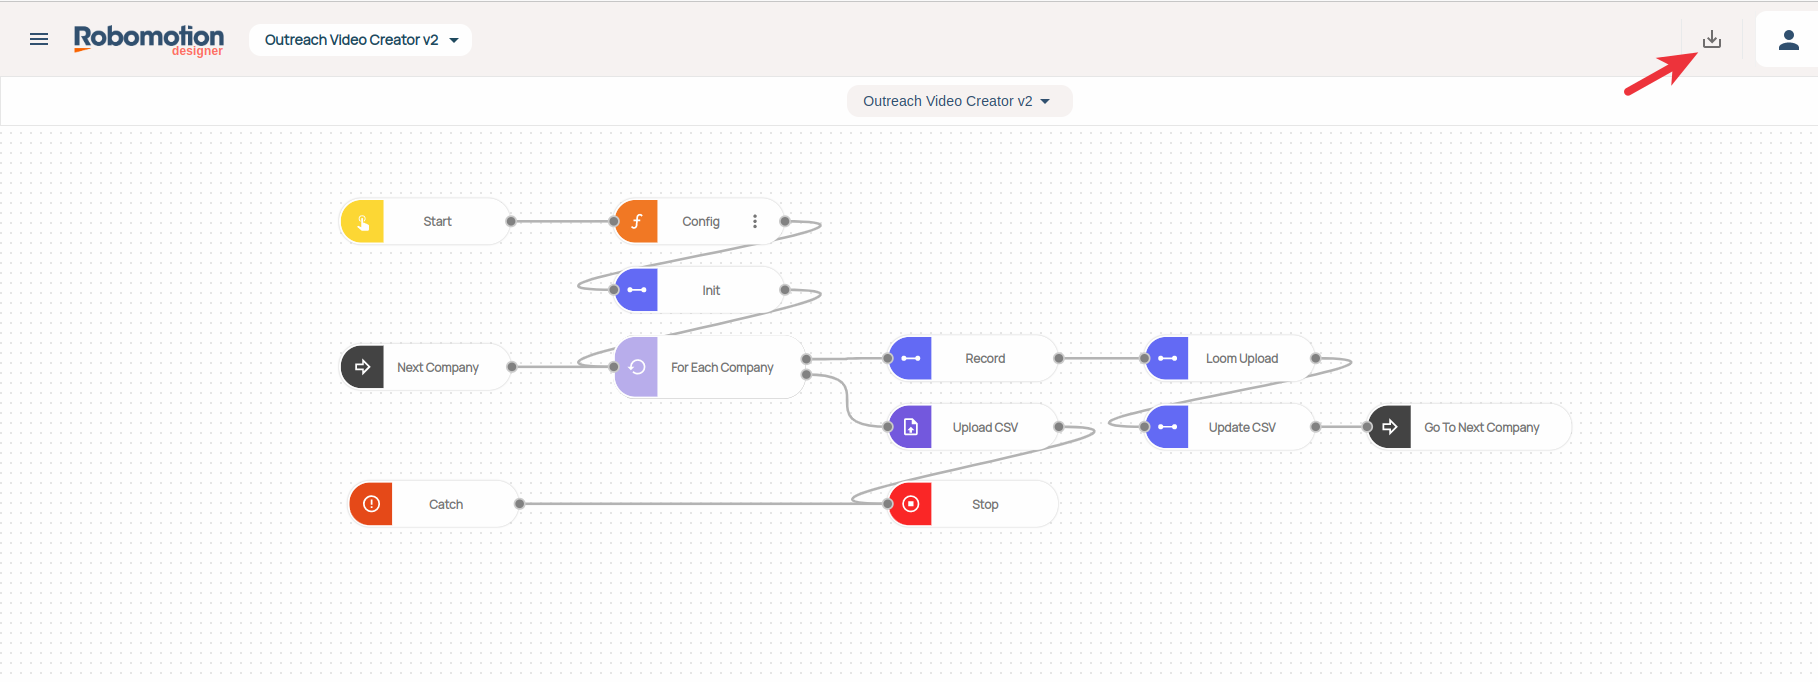
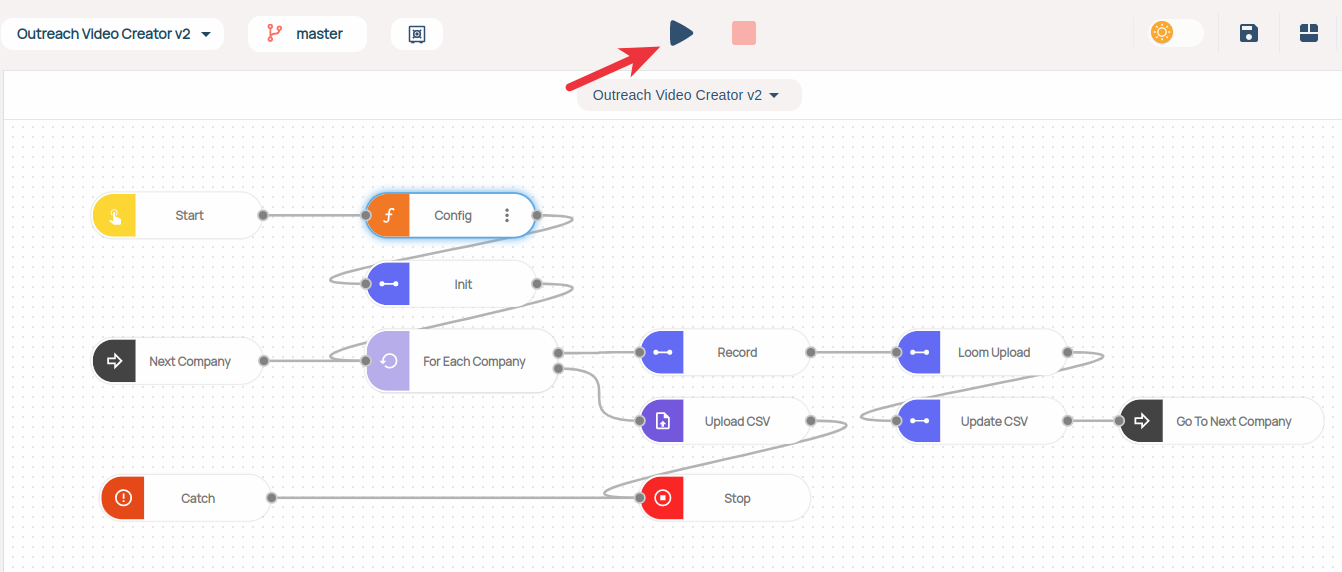
We will start by importing the second version of our Personalized Video Creation flow from here. Click the Import button shown below.
Config
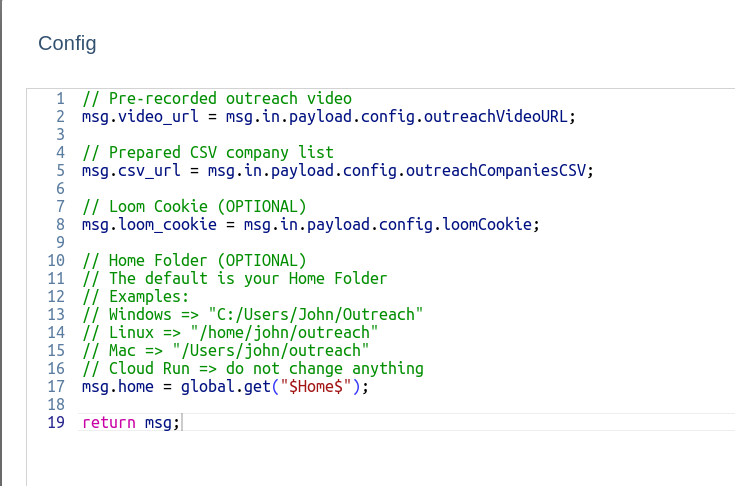
Double-click the "Config" named node shown below.
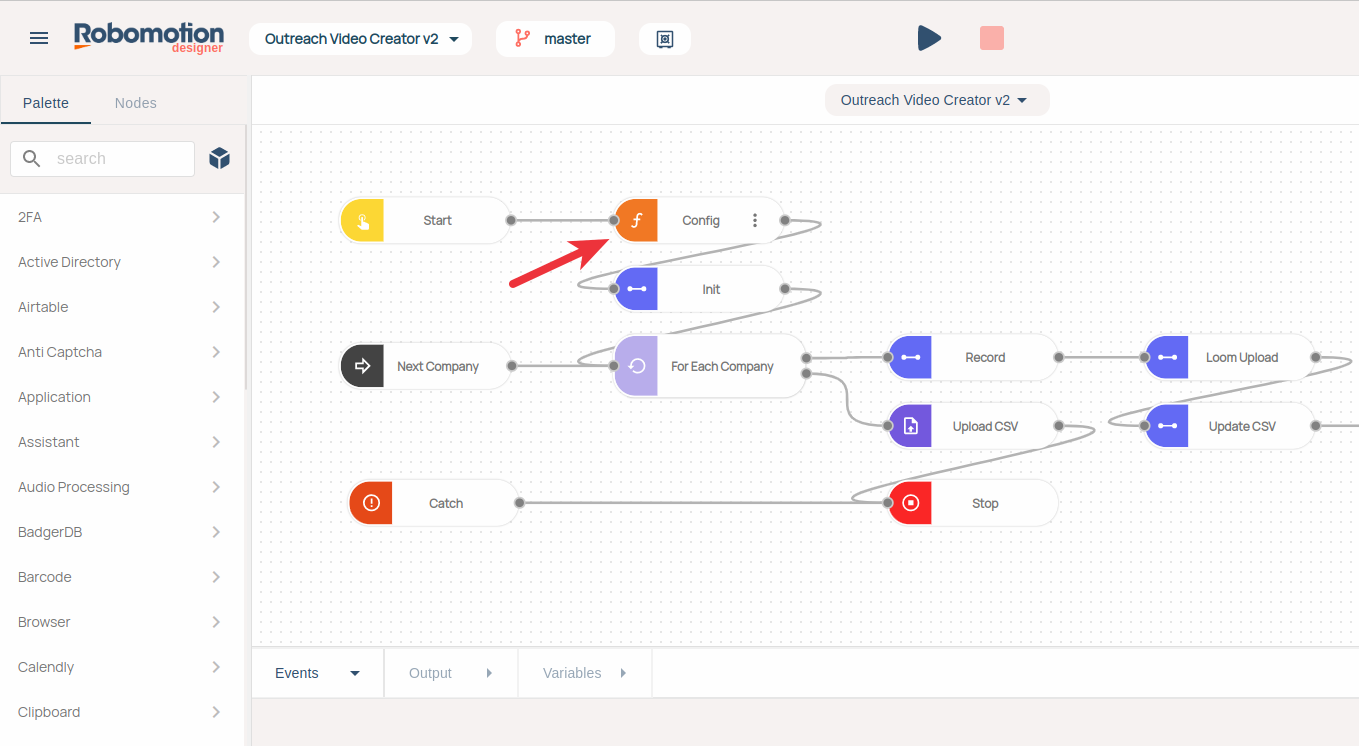
The node's editor will be shown as below:
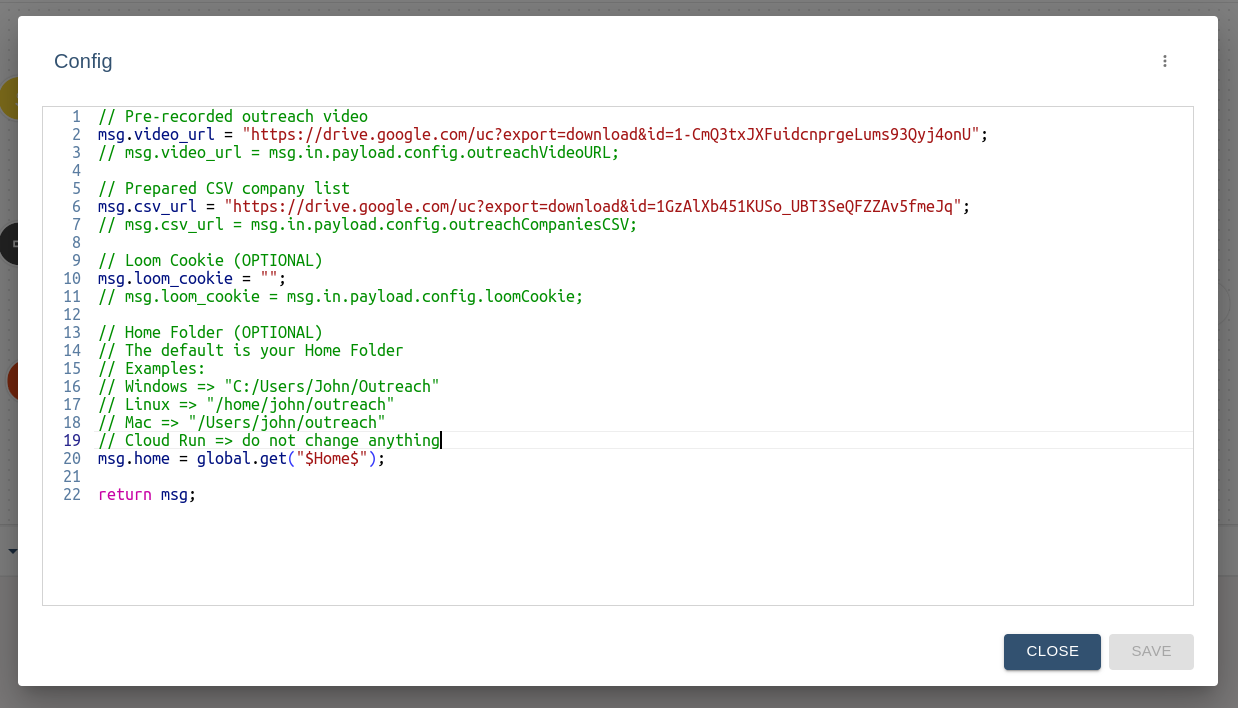
This flow can run with the default inputs without changing anything, but to customize it, four inputs are required:
- A 30 to 60 seconds outreach video must be created and shared with a URL. (msg.video_url)
- A CSV file containing a list of your prospects' names, and website addresses must be created and shared with a URL. (msg.csv_url)
- An optional paid Loom account cookie value is required if you want to upload your generated videos into your Loom account. (msg.loom_cookie)
- An optional empty directory for your generated videos and CSV file. If not given, the default folder will be your Home directory. (msg.home)
In the following sections, we will discuss each of these inputs in detail.
Outreach Video
We aim to generate a customized video for your potential customers. The automation opens up your prospect's website, positions your outreach video in the bottom right corner of the screen, and records the entire session to create a video. To achieve this, you must first create your own outreach message. For instance, here is a fake outreach video as a starting point.
You can use the video URL provided with the flow by not updating the default value of msg.video_url in the opened editor window, or you can create your own video and upload it somewhere, share it publicly and use that video URL.
In this article, we will demonstrate how to accomplish this using Google Drive, but you can utilize any platform to share your video. However, please ensure that you provide a direct download link rather than a website link that opens up when accessed through a browser.
- Go to your Google Drive and upload your outreach video.
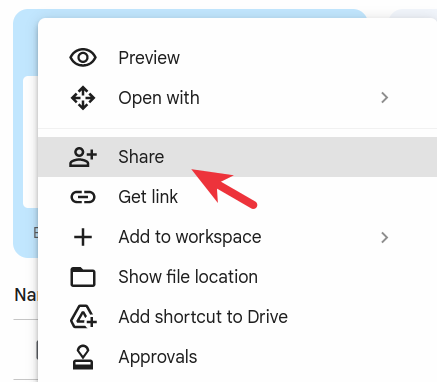
- Right-click the uploaded video file and click the Share link.
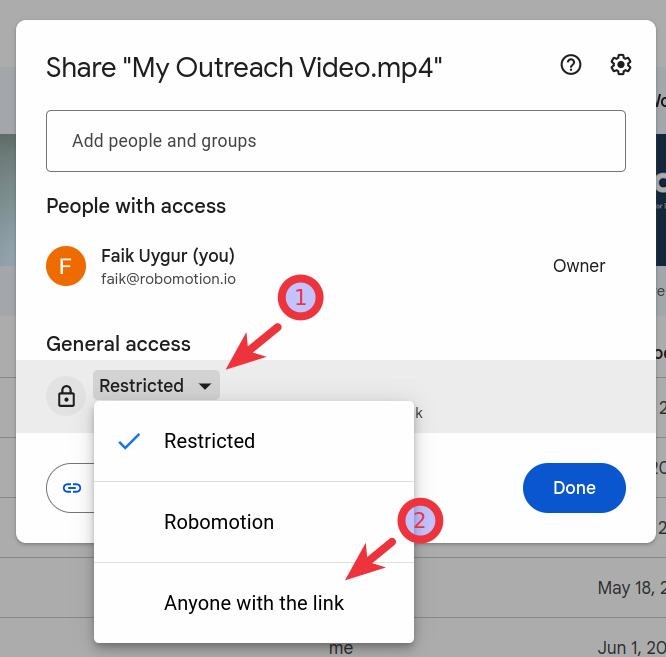
- Click the Restricted option and then change it to Anyone with the link.
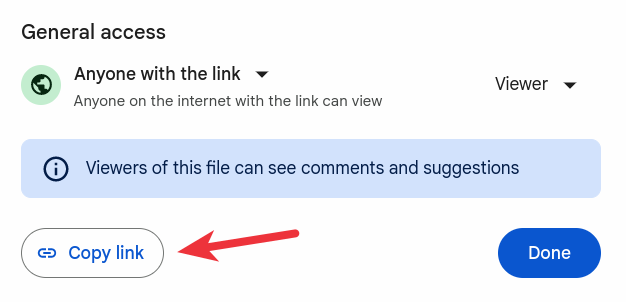
- Click the Copy link button.
The link that you copied may look similar to the example below. However, the issue with this link is that it is not a direct download link. Therefore, we must generate a direct download link from this previously copied link.

This copied link contains your Google Drive File ID inside the URL as seen above. Copy the underlined Drive File ID and replace it with the Place Holder in the link below:
https://drive.google.com/uc?export=download&id=PLACEHOLDER_REPLACE_WITH_YOUR_ID
Now, this will be your direct download video URL link:
https://drive.google.com/uc?export=download&id=1Nirl6-EzCcT3PXzGLt25OKZVYDaFz9-r
You can download the sample Video file from here and update it with your prospects.
CSV File
To execute the automation flow, you will need to provide a CSV file containing the names of your potential customers' company names and their associated website URLs in a specific format. The following example illustrates what the CSV file should look like.
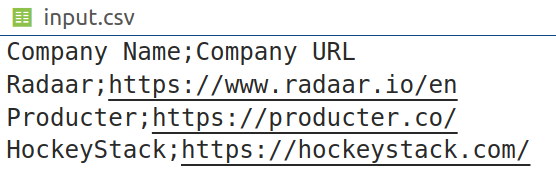
You can download the sample CSV file from here and update it with your prospects.
Then follow the same upload process described in the previous section for the Outreach Video. Upload this CSV file to Google Drive and create your direct download link.
Loom Cookie
This section is optional. If you don't have a paid Loom account or don't want to upload your generated videos to Loom, just skip this section and leave the msg.loom_cookie value with an empty string in the opened editor window.
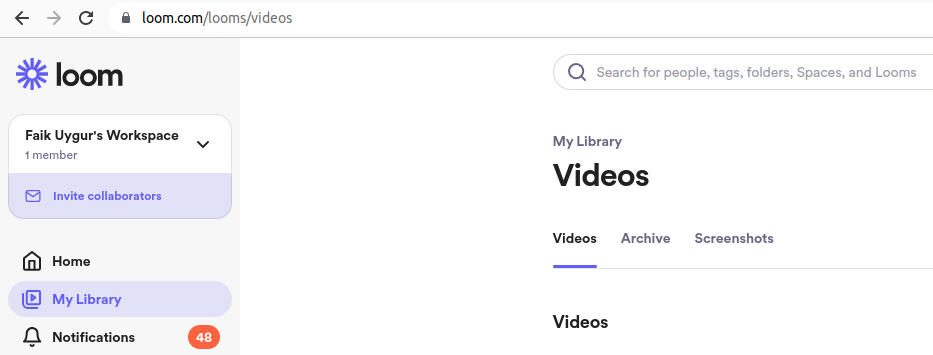
- Open Chrome Browser and go to the Loom Login page and log in from your browser.
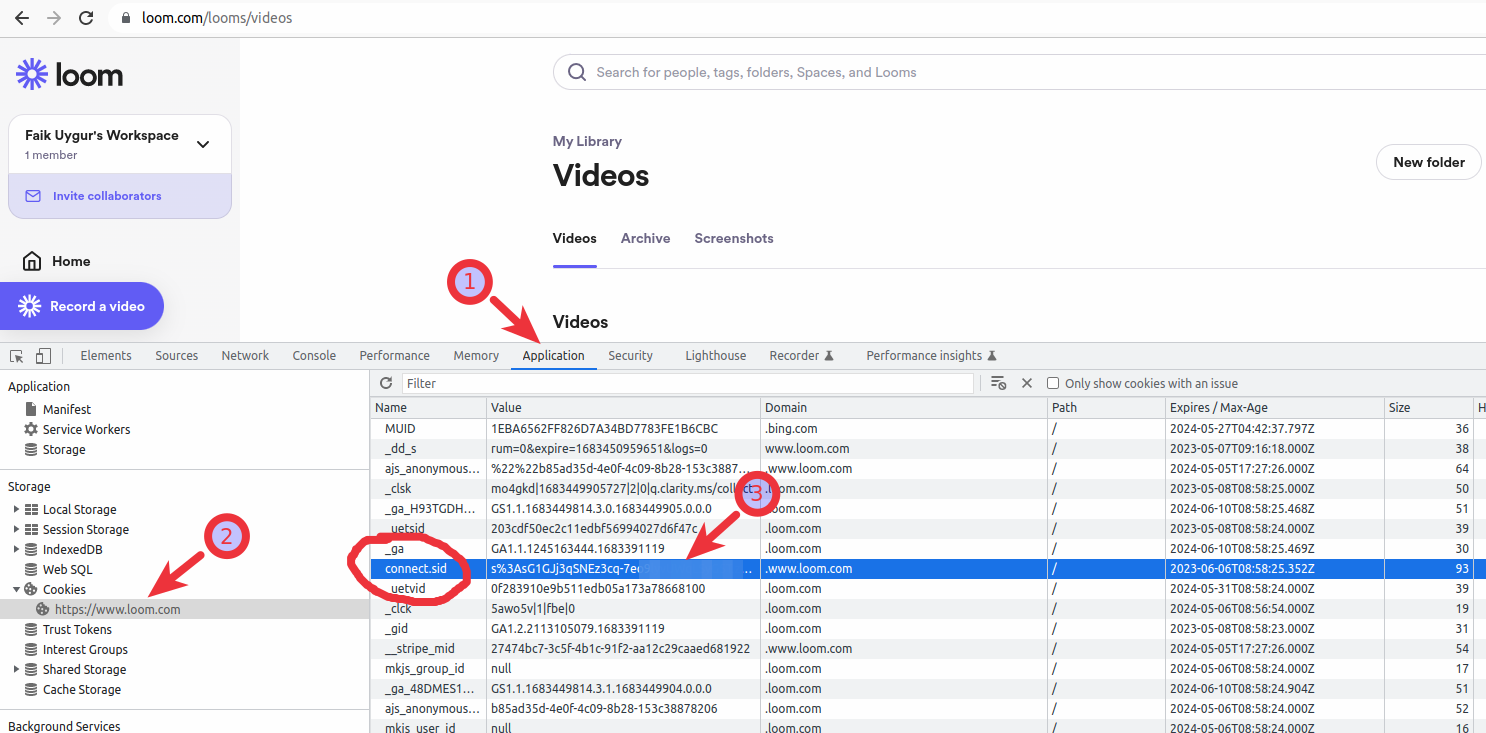
- Press F12 in the Chrome Browser and the Chrome Dev Tools window will be opened. Click the Application tab first, click the https://www.loom.com domain under the Cookies section left and finally find the cookie named connect.sid in the opened cookies list. Double-click the Value section and copy your Loom Cookie.
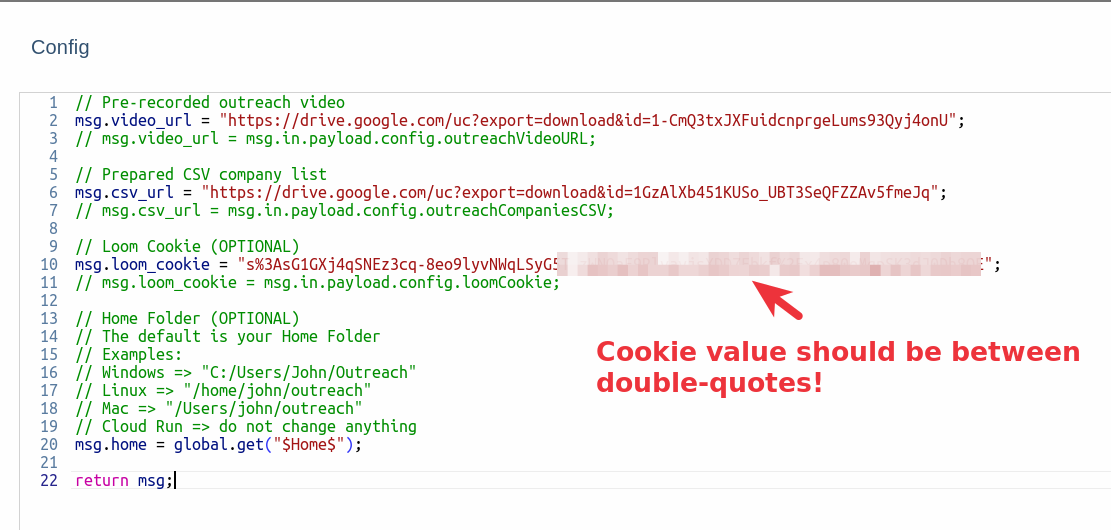
You can now write your cookie value into the msg.loom_cookie in the opened editor windows as below:
Home Folder
When the flow runs, all the generated videos and the output.csv files will be written into the given home folder (msg.home) in the Config node editor. The default value for all the operating systems is the actual user's Home Directory.
You don't need to change this default, but if you like to, here are some example folders for each operating system:
For Windows, it is "C:/Users/John/Outreach"
For Linux, it is "/home/john/outreach"
For Mac, it is "/Users/john/outreach"
You can create an empty folder/directory in your file system and replace the msg.home = global.get("$Home$"); line with the full path of your created folder. Make sure your path does NOT contain a trailing "/" as in the examples above.
After replacing the msg.home value in the opened editor, it would look something like below for the Windows operating system:
msg.home = "C:/Users/John/Outreach"
Make sure your path is inside double-quotes and does NOT end with a trailing slash (/).
Run in Flow Designer
We have finished the setup and you can run your flow with your Robot connected to your workspace. If you haven't run any flows before, you can learn from our Getting Started guide.
To execute the flow, click on the Run button in the Flow Designer. Once the flow is completed, you can locate the generated files within the specified home folder that you have configured.
While the flow is running, you will NOT see a picture-in-picture video like in the previous version of this flow. Chrome will be opened and the recording will be done in the background.
Run in Robomotion Apps
So far, we have completed the setup and run it successfully.
This following section is actually optional and you do NOT need to follow through unless you want to scale this automation.
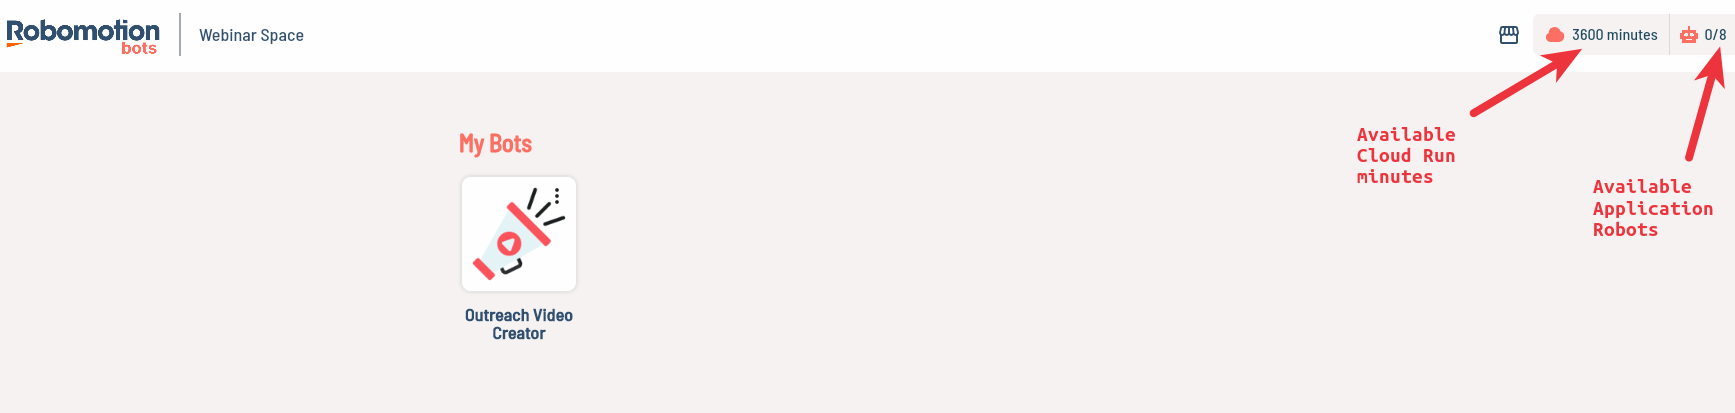
You also need to have Application Robots and Cloud Run minutes in your workspace to run your Bots on our hosted cloud platform. You can subscribe to a plan from Admin Console -> Subscriptions screen and also can buy Cloud Run minutes from this subscriptions page.
The Problem
The problem with this flow is, it can only be performed on a single computer, as you cannot use the computer while the desktop recording is in progress; any activity performed during the recording will be captured in the video.
Alternative options to perform this automation include setting up virtual machines (VMs) or deploying multiple Virtual Private Servers (VPS) machines. However, we have a much better solution, which is our Robomotion Apps and Cloud Run feature.
By utilizing the Robomotion Apps, you can transform any of your flows into a reusable Bot. Additionally, you can supply different input parameters from the Robomotion Apps for each execution. This enables you to provide different outreach video URLs or CSV files for this specific use case.
Follow the below steps to create your first Bot:
Update the Flow
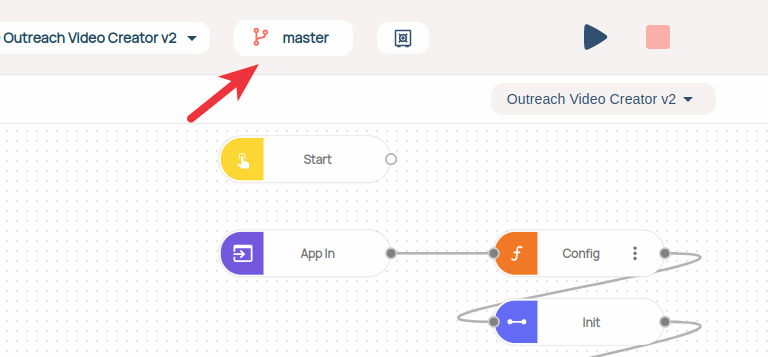
- Cut the Inject (renamed as "Start") node wire to the Config. Put and connect an App In node instead.

- Double-click the "Config" node and replace all the hard-coded string values of msg.video_url, msg.csv_url and msg.loom_cookie with msg.in.payload equivalents.
Do NOT change the msg.home value and leave it as msg.home = global.get("$Home$");
Here are the values for easy copy-paste:
// Pre-recorded outreach video
msg.video_url = msg.in.payload.config.outreachVideoURL;

// Prepared CSV company list
msg.csv_url = msg.in.payload.config.outreachCompaniesCSV;

// Loom Cookie (OPTIONAL)
msg.loom_cookie = msg.in.payload.config.loomCookie;

// Home Folder
msg.home = global.get("$Home$");
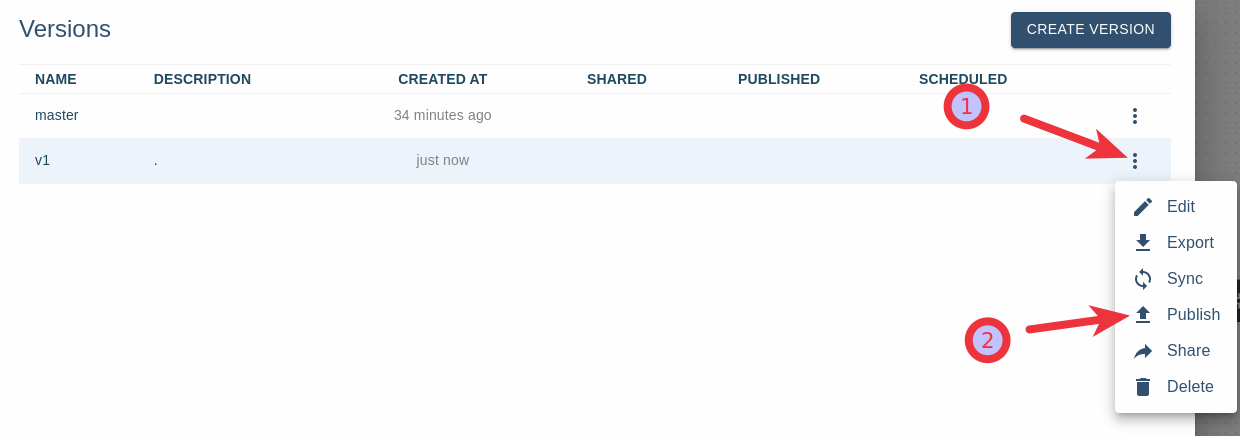
Publish the Flow
To create a Bot from our flow, we need first to version and publish our flow.
- Click the "master" button.
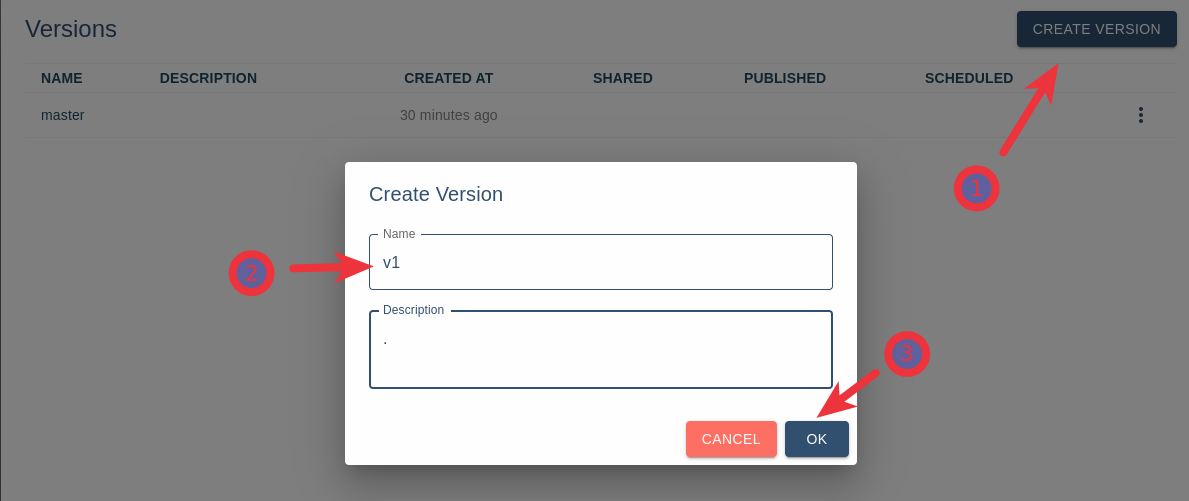
- Create a new version after clicking the "Create Version" button. Fill in the Name and the Description fields and press the "Ok" button.
- Finally, publish the created flow version. This is required by the Admin Console.
Create Bot
We will open the Admin Console application to turn our flow into an App.
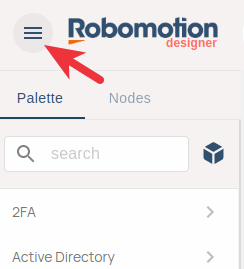
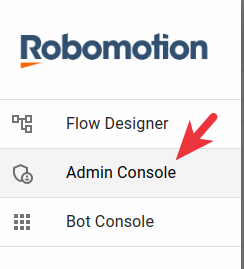
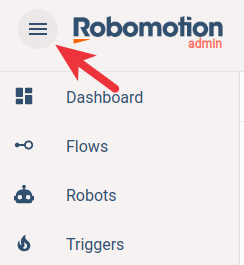
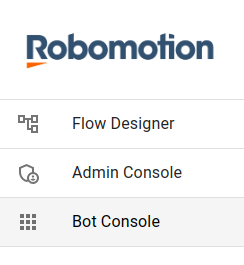
- Click the hamburger menu at the top left corner and then click the Admin Console link.
- Now in the Admin Console, click the Bots link.

- Click the Add Bot button and fill in the details as below.
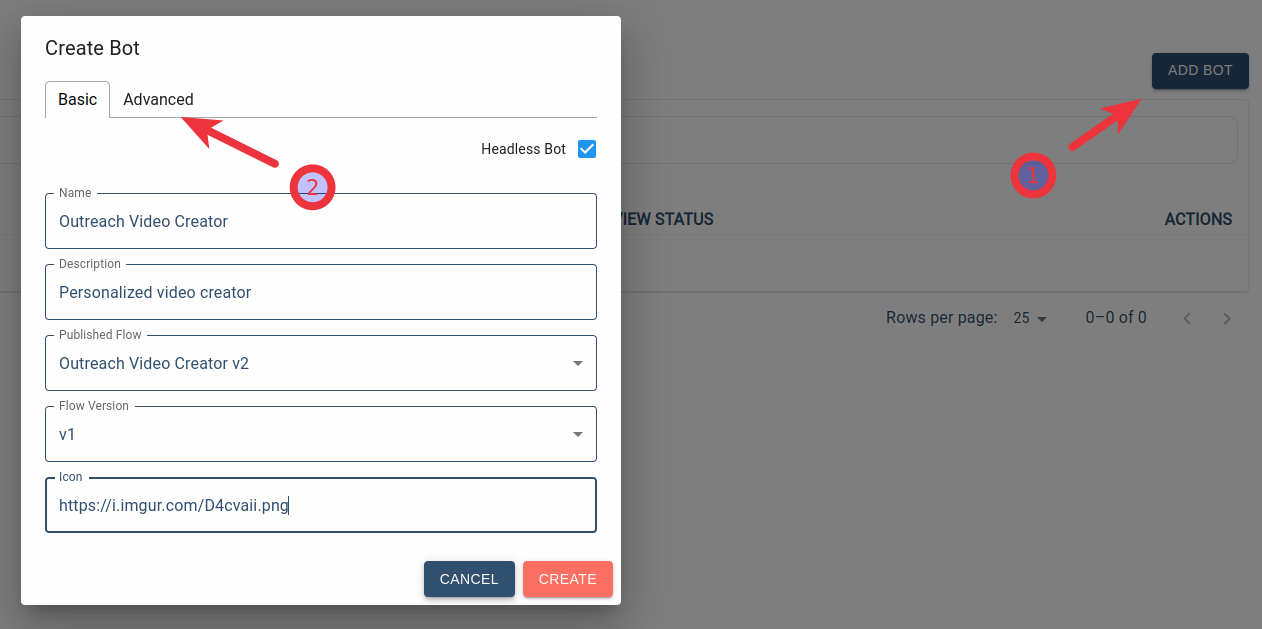
3.1 Name: Outreach Video Creator
3.2 Description: Personalized video creator
3.3 Published Flow: Outreach Video Creator v2 ( this is the name of the flow you have published previously )
3.4 Flow Version: v1 ( this is the name of the version you have published previously )
3.5 Icon: https://i.imgur.com/D4cvaii.png
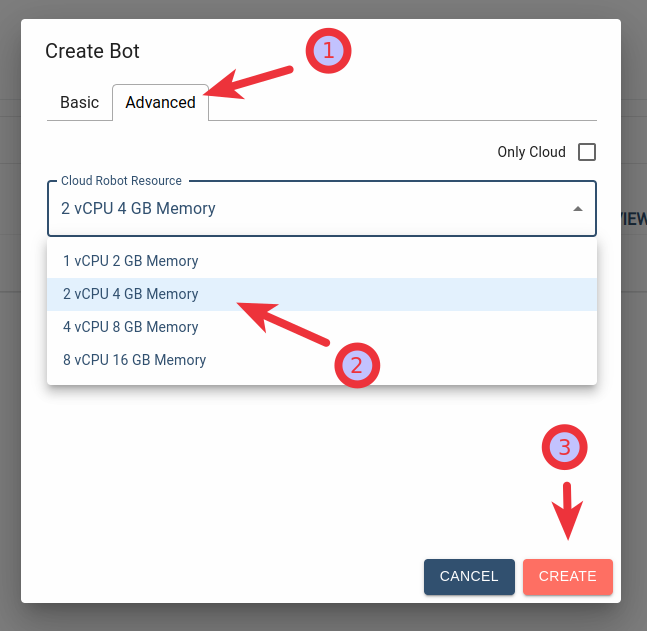
- Click the Advanced tab in the "Create Bot" dialog and select "2 vCPU 4 GB Memory", then click the Create button. This automation needs a minimum of two vCPUs to run.
You will see Bot created successfully message at the end.
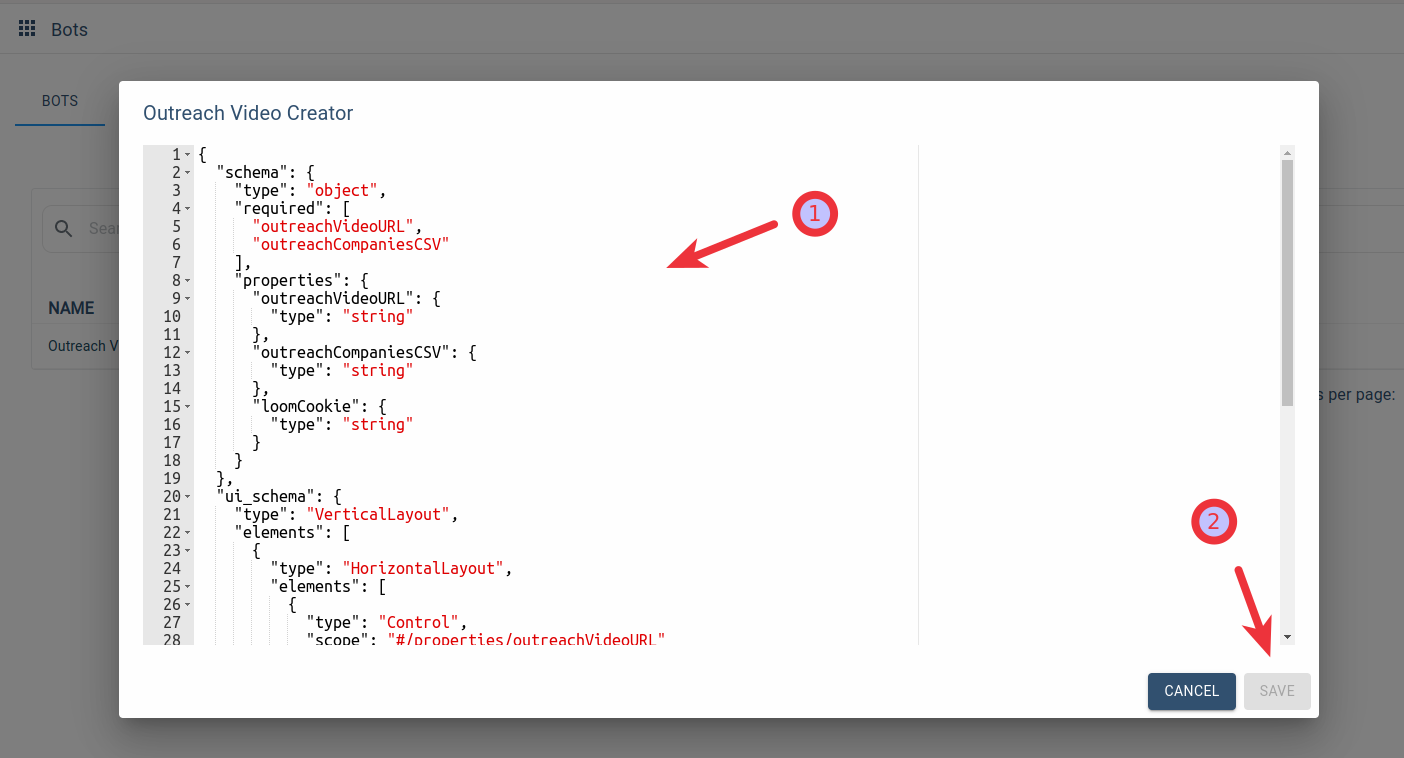
- Click the "Setup" item from the action menu of the newly created Bot. We can use the Setup option to create a Setup screen for our Bot with a special JSON object. The format of this JSON object is like the Robomotion Forms.

Just copy and paste the below JSON object into the Setup popup, save and close the window. To understand this JSON you can watch the Robomotion Forms video.
{
  "schema": {
    "type": "object",
    "required": [
      "outreachVideoURL",
      "outreachCompaniesCSV"
    ],
    "properties": {
      "outreachVideoURL": {
        "type": "string"
      },
      "outreachCompaniesCSV": {
        "type": "string"
      },
      "loomCookie": {
        "type": "string"
      }
    }
  },
  "ui_schema": {
    "type": "VerticalLayout",
    "elements": [
      {
        "type": "HorizontalLayout",
        "elements": [
          {
            "type": "Control",
            "scope": "#/properties/outreachVideoURL"
          }
        ]
      },
      {
        "type": "HorizontalLayout",
        "elements": [
          {
            "type": "Control",
            "scope": "#/properties/outreachCompaniesCSV"
          }
        ]
      },
      {
        "type": "HorizontalLayout",
        "elements": [
          {
            "type": "Control",
            "scope": "#/properties/loomCookie"
          }
        ]
      }
    ]
  }
}
Create & Run Bot Instance
- Click the hamburger menu at the top left corner and then click the Robomotion Apps link.
- Make sure you have enough Cloud Run minutes and available Application Robots. You can go to the Admin Console -> Subscriptions page to subscribe to a plan or buy extra Cloud Run minutes.
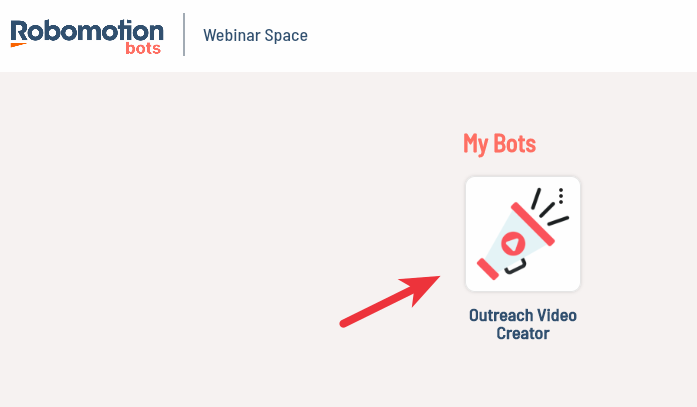
- Click the "Outreach Video Creator" Bot icon.
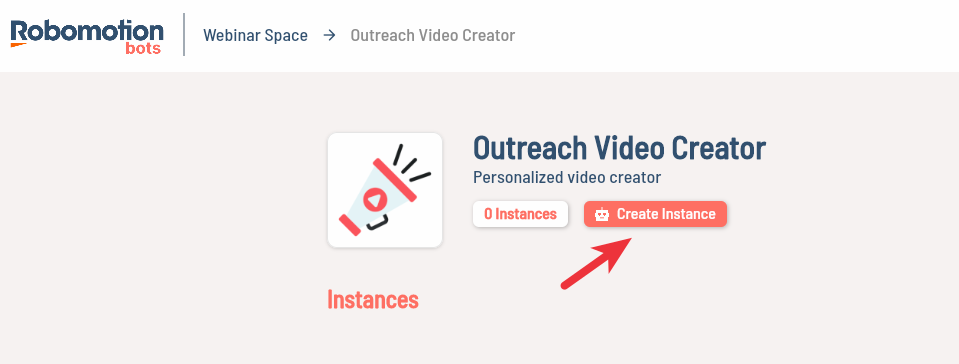
- Click the Create Instance button.
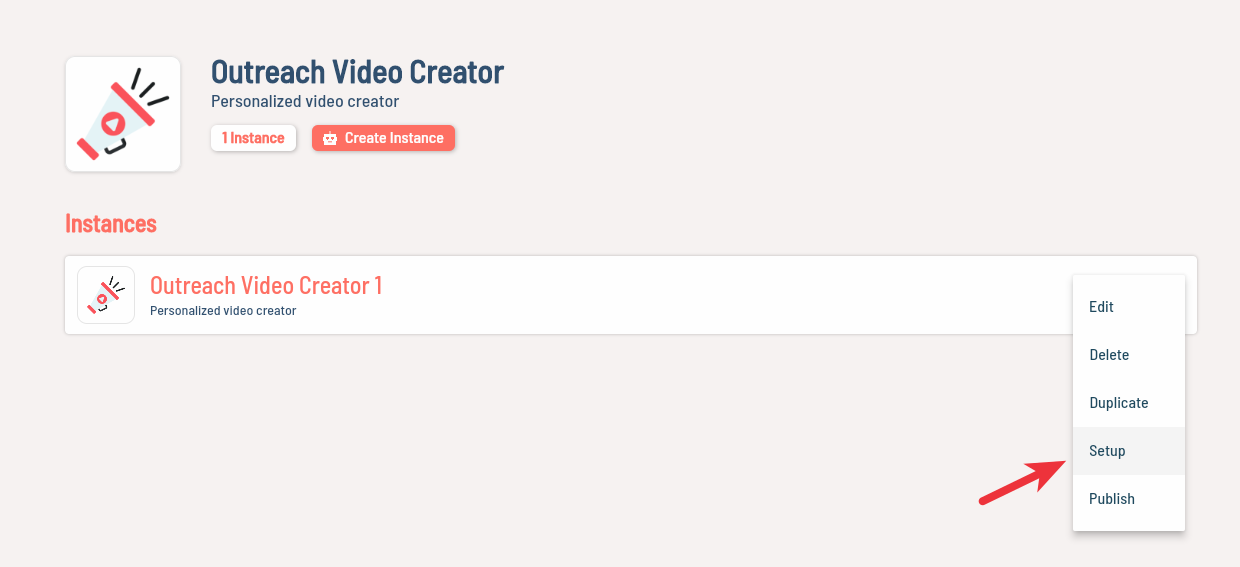
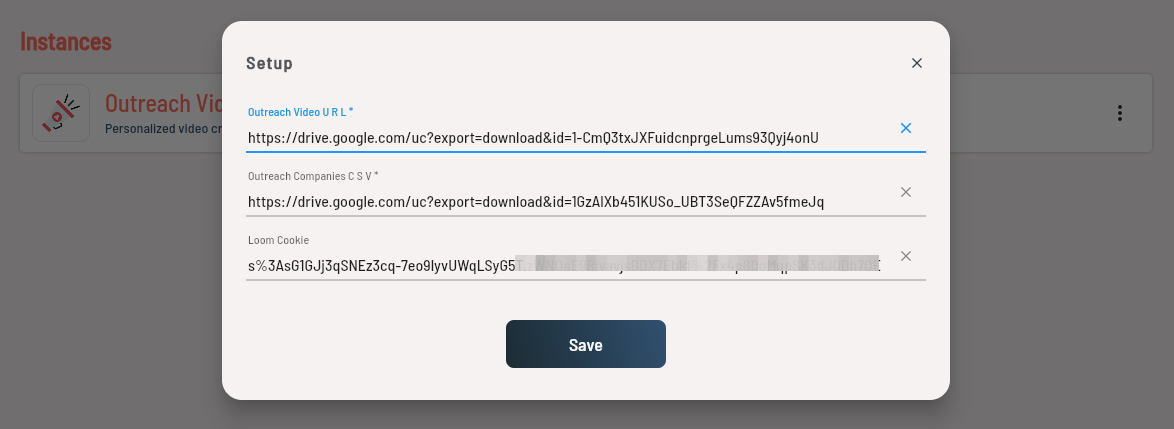
- Click the Setup link from the created bot's action menu.
- Enter your Outreach Video URL, CSV URL and Loom Cookie (Optional) and click Save
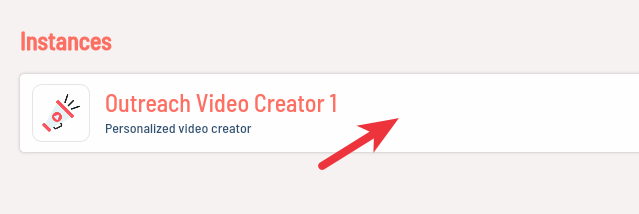
- Click the Bot Instance
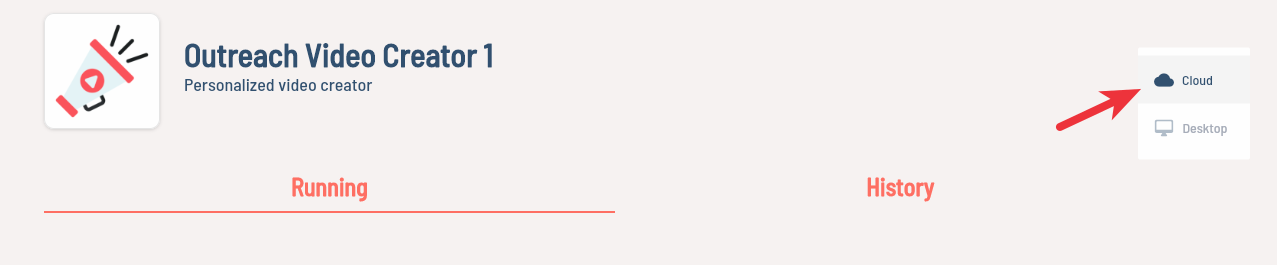
- Click the Run button and select Cloud
- Wait until the flow has stopped executing and then click the History tab

- Click the last instance run item to expand and then you can click to download the output.csv file
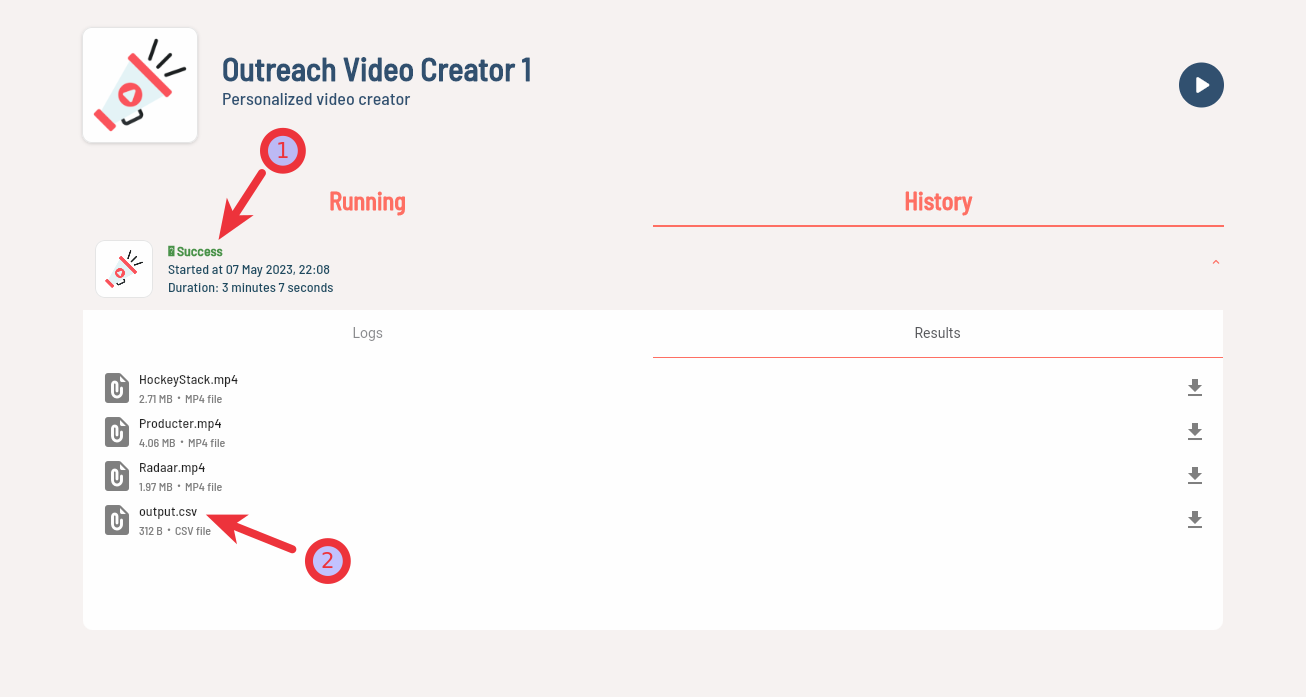
Additionally, you have the option to download the MP4 files individually.
Here is the output CSV file:

Scaling
At this point, you have the option to scale this process. You can create multiple Bot Instances as long as you have the corresponding Application Robot licenses for each Instance. And you can configure each instance separately from its Setup screen. You can provide different CSV file URL to each instance, or even different Outreach Video URL.
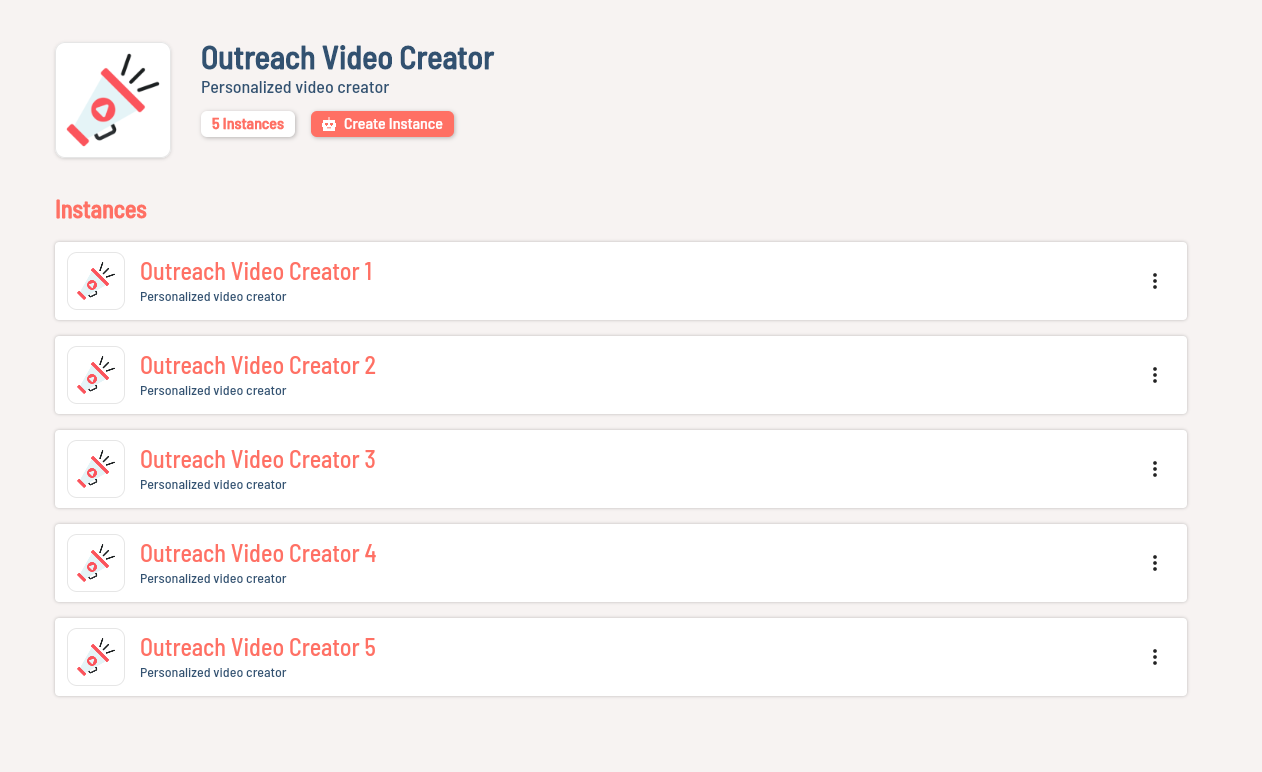
You can also rename each instance if you like from the action menu on the right side of the instance item.
Trouble-shooting
Mac Capture Device Auto-Detect Problem
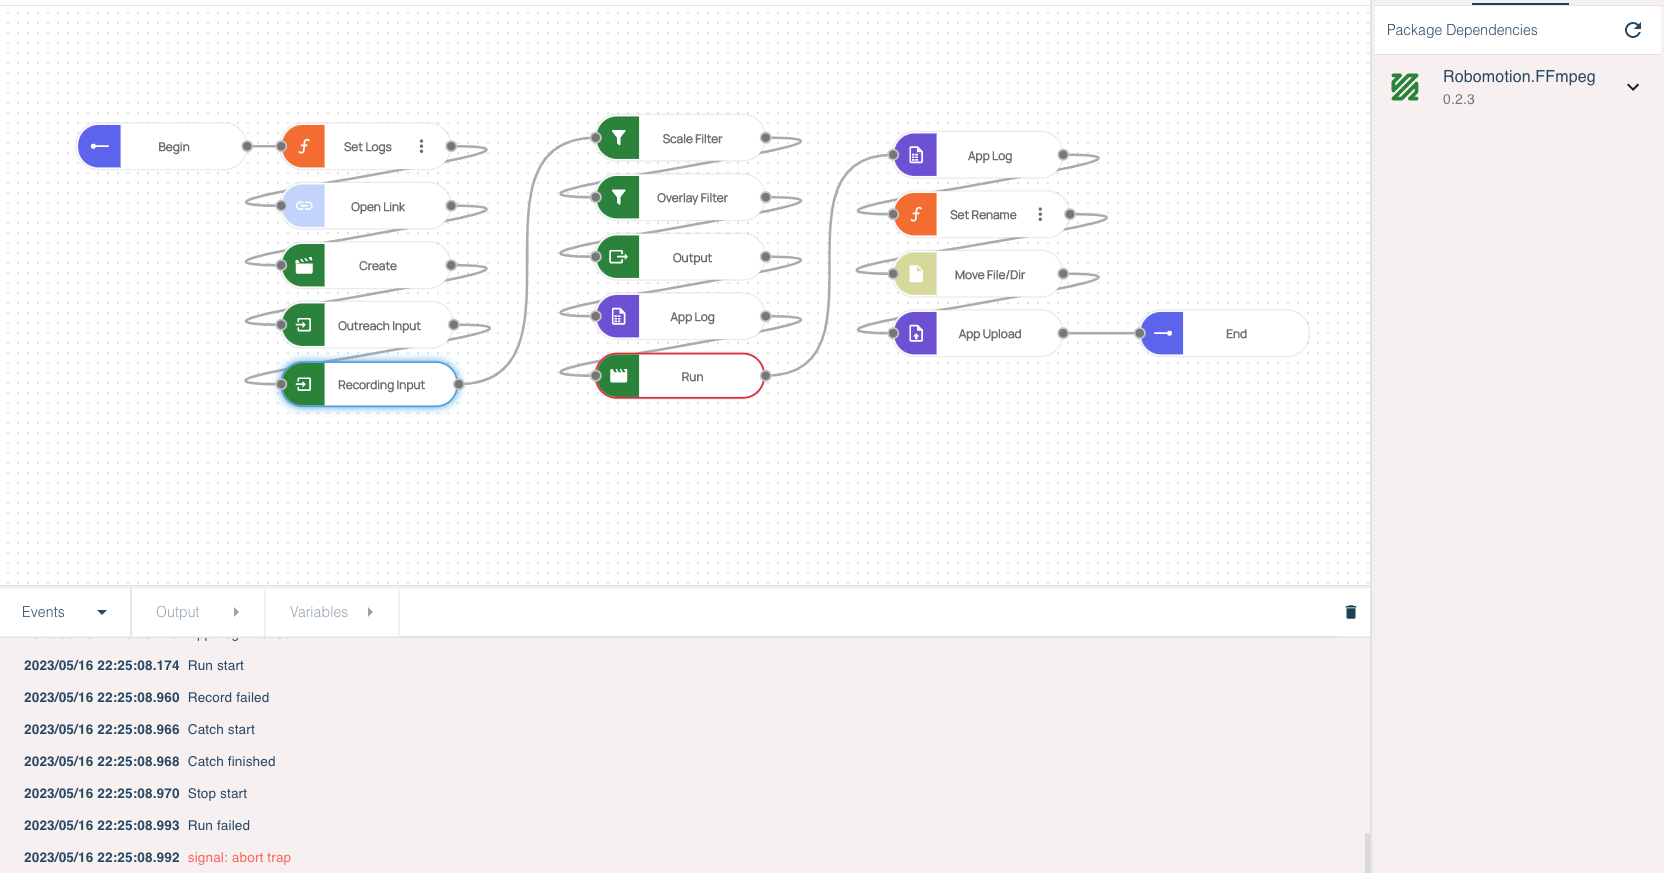
If you are using a Mac, your flow may fail at the Run node as below. This is because currently the flow can not determine the correct capture device automatically for Mac.
Follow these steps, to fix this problem.
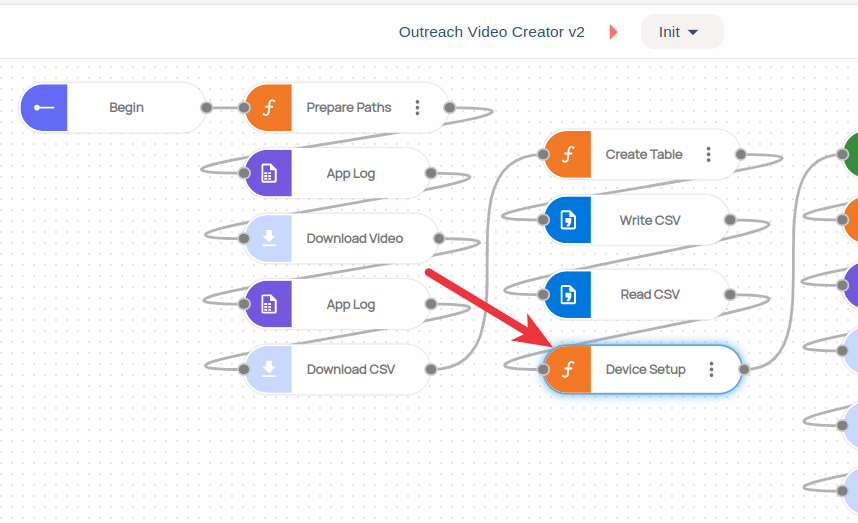
- Find the Device Setup node and double-click to edit it.
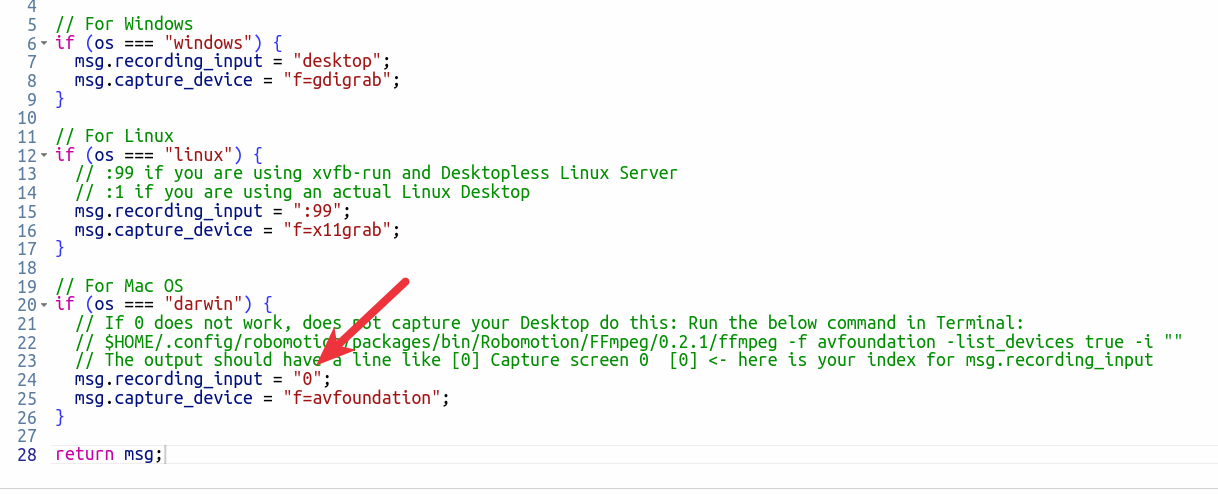
- Find the capture device number, you are going to update.
- Open Terminal on Mac, copy-paste and run the below command
$HOME/.config/robomotion/packages/bin/Robomotion/FFmpeg/0.2.3/ffmpeg -f avfoundation -list_devices true -i ""
The output should be something like this. The numbers between brackets are the capture device numbers you can use:
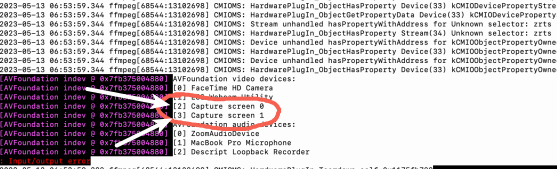
- Replace the "0" in the
msg.recording_input = "0";line with the number you see in the previous output. For this example output, the capture device index number can be something like below:
msg.recording_input = "2";
or it can be
msg.recording_input = "3";
- Try running the flow again.
General Problems
If you have trouble setting up this flow, please Join our Discord Community. You can ask questions in our #support-en channel.