How to make a simple interface with Assistant nodes?
In this blog post, we will walk you through an example of utilizing the Assistant node in Robomotion.
How to Setup?
To begin, Login to your Robomotion workspace. If you haven't registered yet, you can create your workspace from the provided link. First, make sure the "Assistant" package is installed for this workflow. Once the package is installed, you can proceed with the workflow, leveraging its functionalities for your tasks.
About the Assistant Package
With the Assistant package, you can do many things, such as sending messages to the Assistant application, uploading files, and uploading pictures.
Exploring Assistant Package: Navigating Package, Installing, and Understanding Flow Steps:
-
Go to your workspace.
-
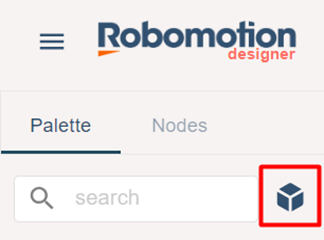
To open the packages page, simply click on the cube icon.
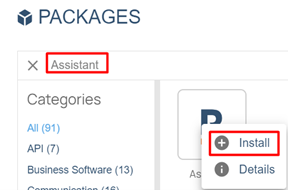
- Enter "Assistant" in the package search field, and then right-click on the package and select the option to download it.
-
The “App In” node is used to initialize the flow.
-
The function node named "Setups" contains JavaScript code for defining variables.
-
Function node named “Setups” Code-Block:
msg.header = "Robomotion Assistant"; // Enter a name for your assistant.
msg.message = "How can I help you ?"; // Enter the message your assistant wants to send.

msg.labels = ["Start"]; // The message you want to send to the assistant.

msg.message_ = ""; // Enter the message your assistant wants to send.

return msg;
-
Feel free to adjust the interface color of the assistant as per your preference by using the "Change Theme" node.
-
“Stop” node is used to stop the flow.
Adding an app to the "Robomotion Apps"
- Click the "Master" button located at the top of your workspace.

- Select the "Create Version" button on the screen that appears.

- Once the version has been added, proceed to click the "Publish" button.

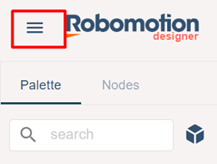
- Click on the menu
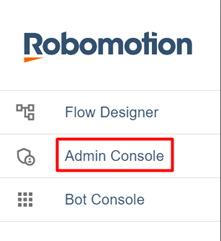
- Click on "Admin Console”.
- Select the "Bots" button located at the bottom of the Robomotion admin section.

- On the page that appears, click the "ADD BOT" button.

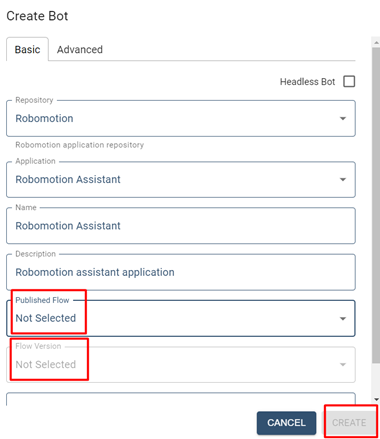
- Configure the necessary settings, with "Published Flow" as the name of your flow and "Flow Version" representing the added version. Finally, click the "CREATE" button.
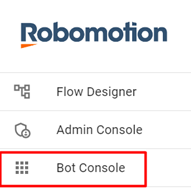
- Click on "Robomotion Apps”.
- On the page that opens, locate your bot and double-click on it.
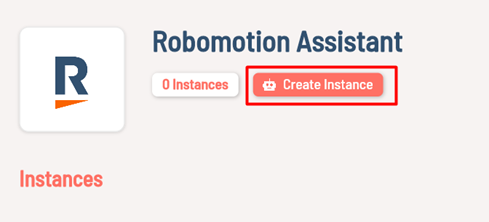
- Click on the "Create Instance" button.
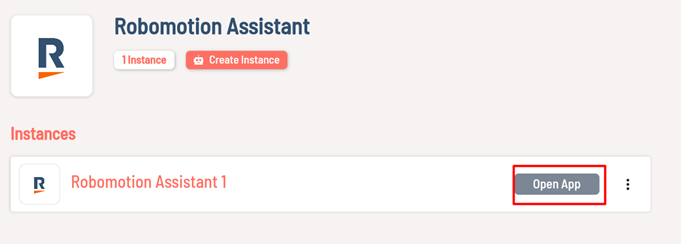
- Click on the "Open App" button.
- Click on the “Run” button.

- Your assistant interface is now prepared.
Flow Chart:
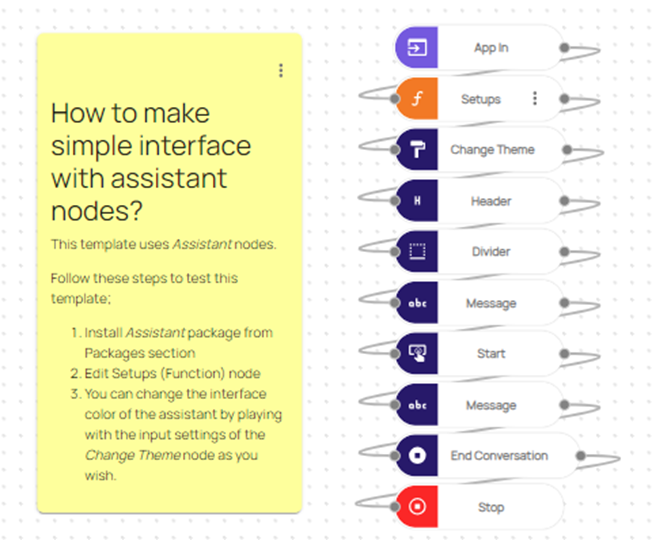
Here you can access the complete flow by clicking on the following link: https://casestudies.robomotion.io/designer/shared/Lbsd4WwwY6AV6PtnHru66X
